
So I have a feeling that you see the title of this post saying, “Why would I want that?” or, “Oh, my God, YES!”.
I’m always amazed at the amount of clothes in stores (especially in the summer) that can’t be worn bras based on low-waist / slim / strapless / cutout designs.
And as someone who definitely needs some support in that department, it’s been incredibly frustrating for me.
 Thankfully, there’s a way you can still wear that super cute piece and get the support you need with the built-in DIY Bra!
Now, this won’t work on every item depending on the construction and materials, but I guess you should be able to open up your range of options much wider than you think with the manual. this art.
The items that work best this way are those that fit the body/waist better, so this method won’t work with super floral tops or skirts.
I show you two ways to add some support to your garment based on how much support you need.
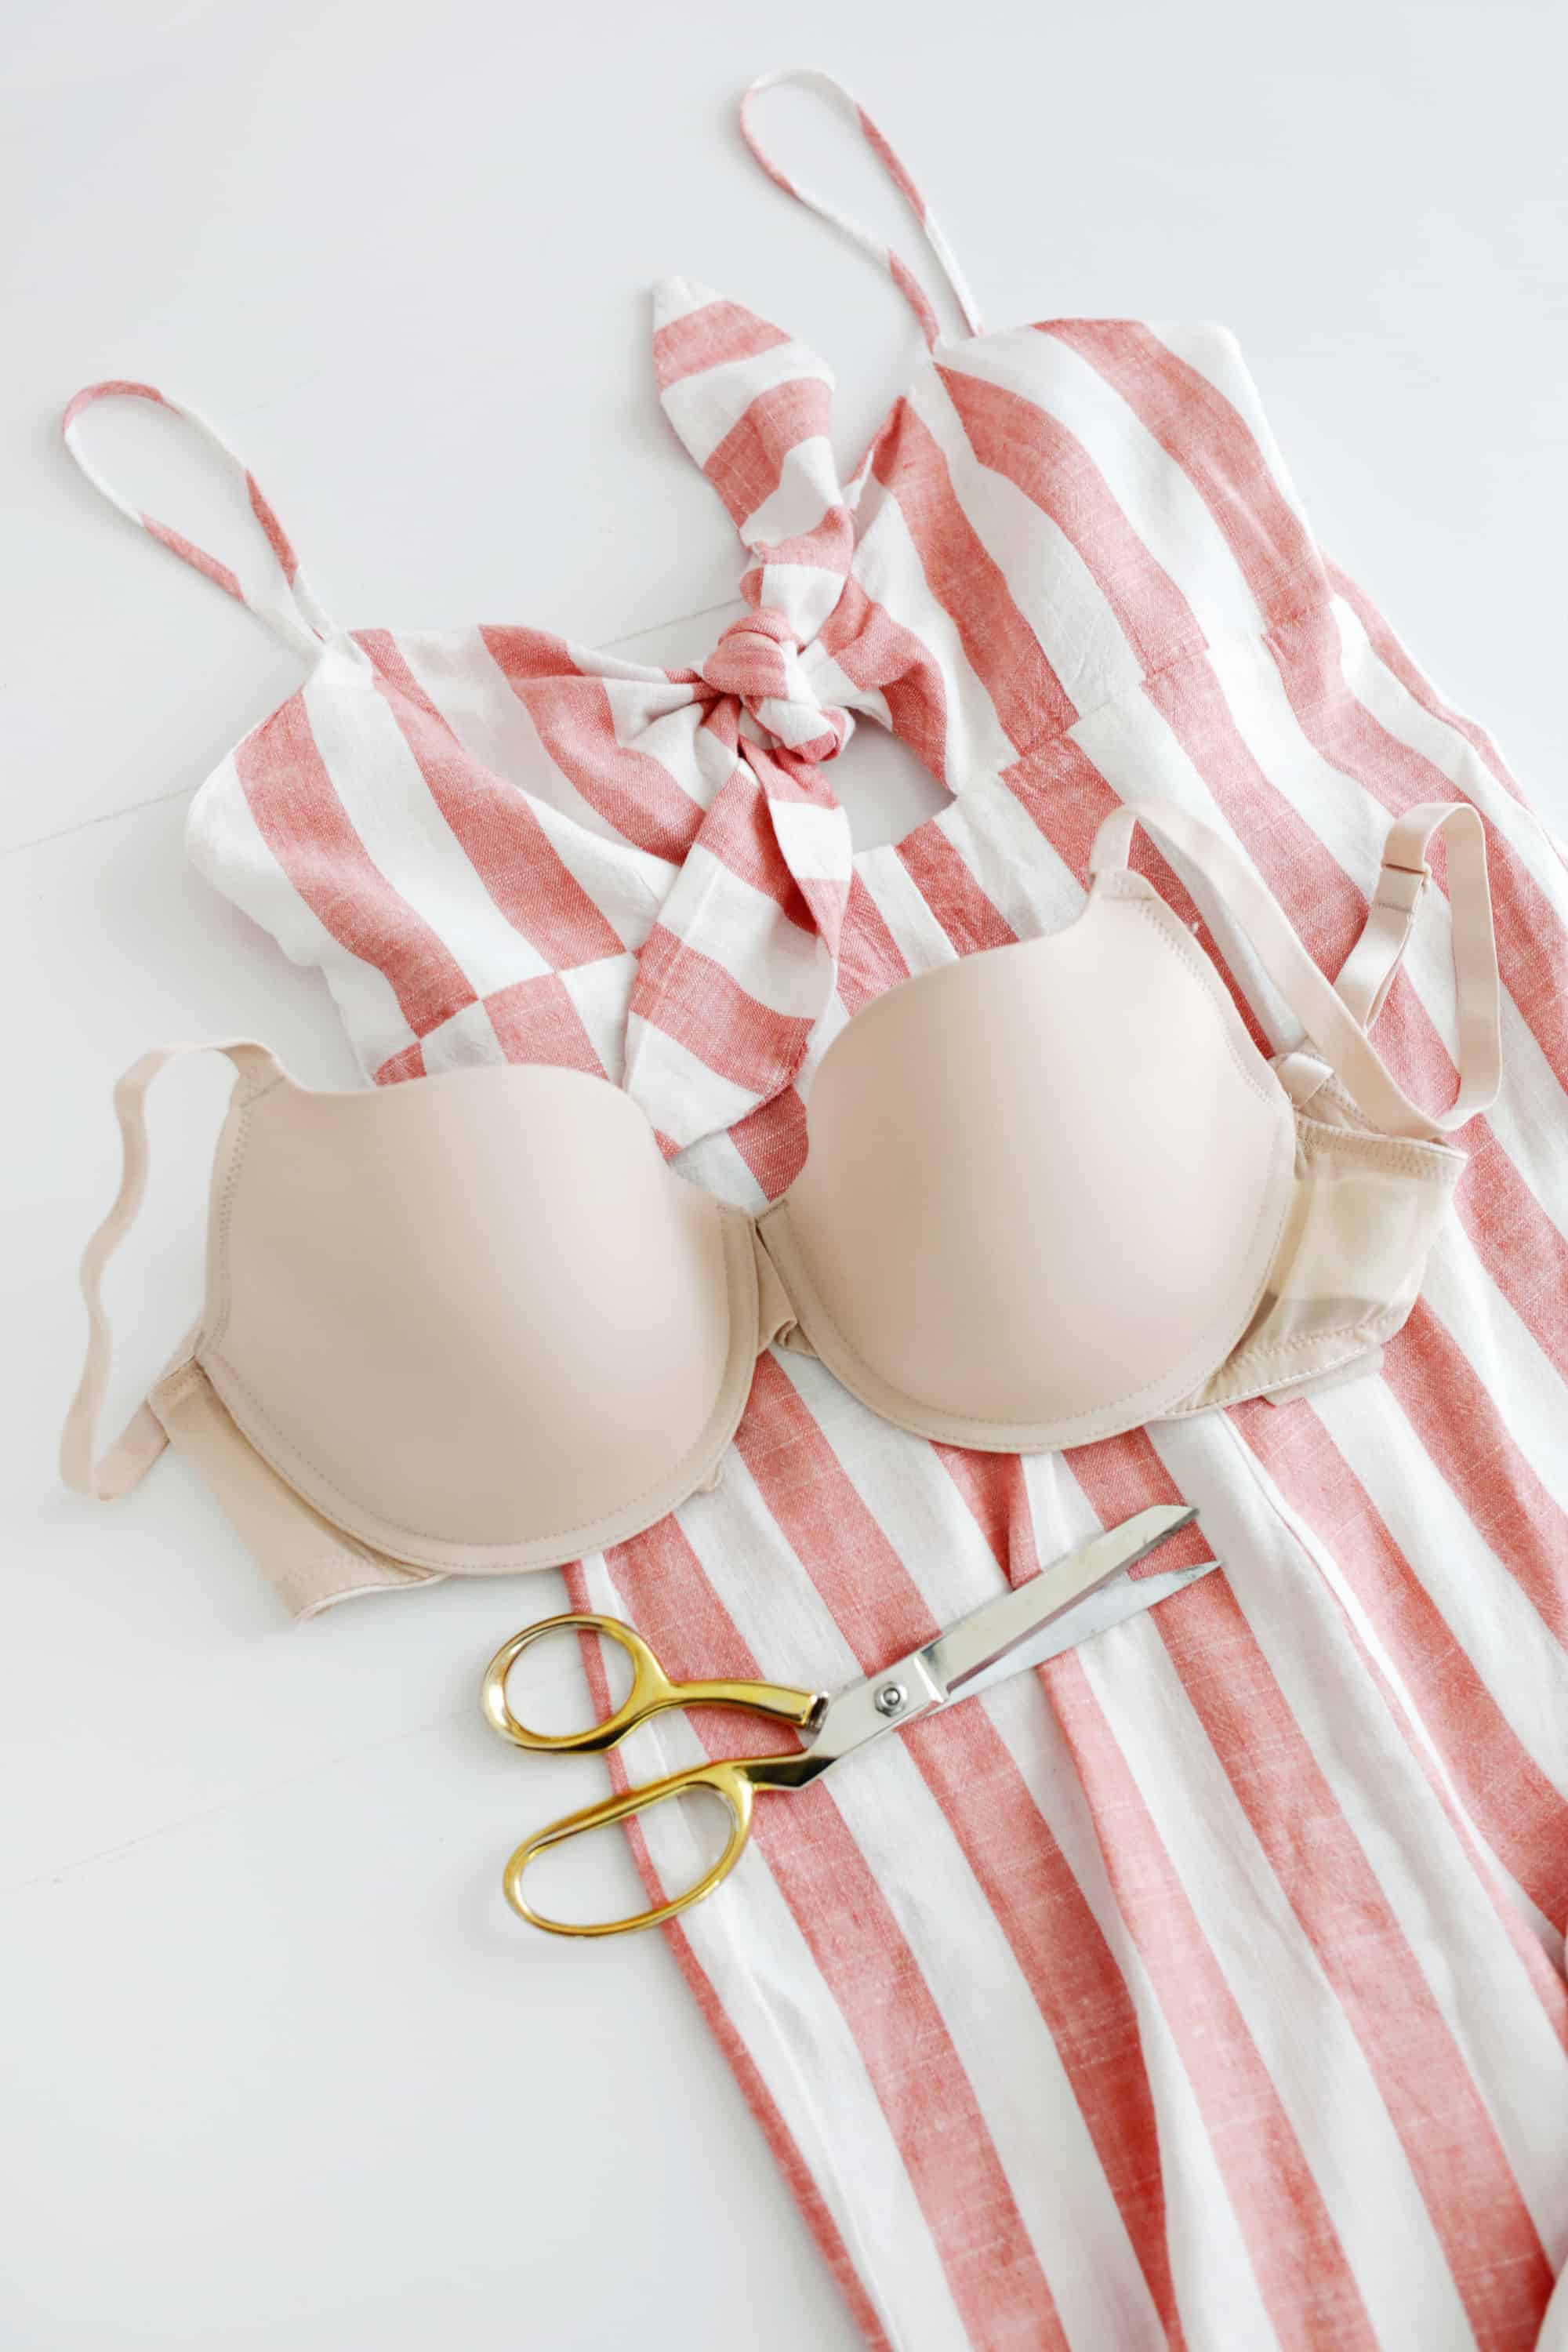 Other support methods: This method uses underwired bras instead of loose foam cups because underwires help keep the larger bust in shape.
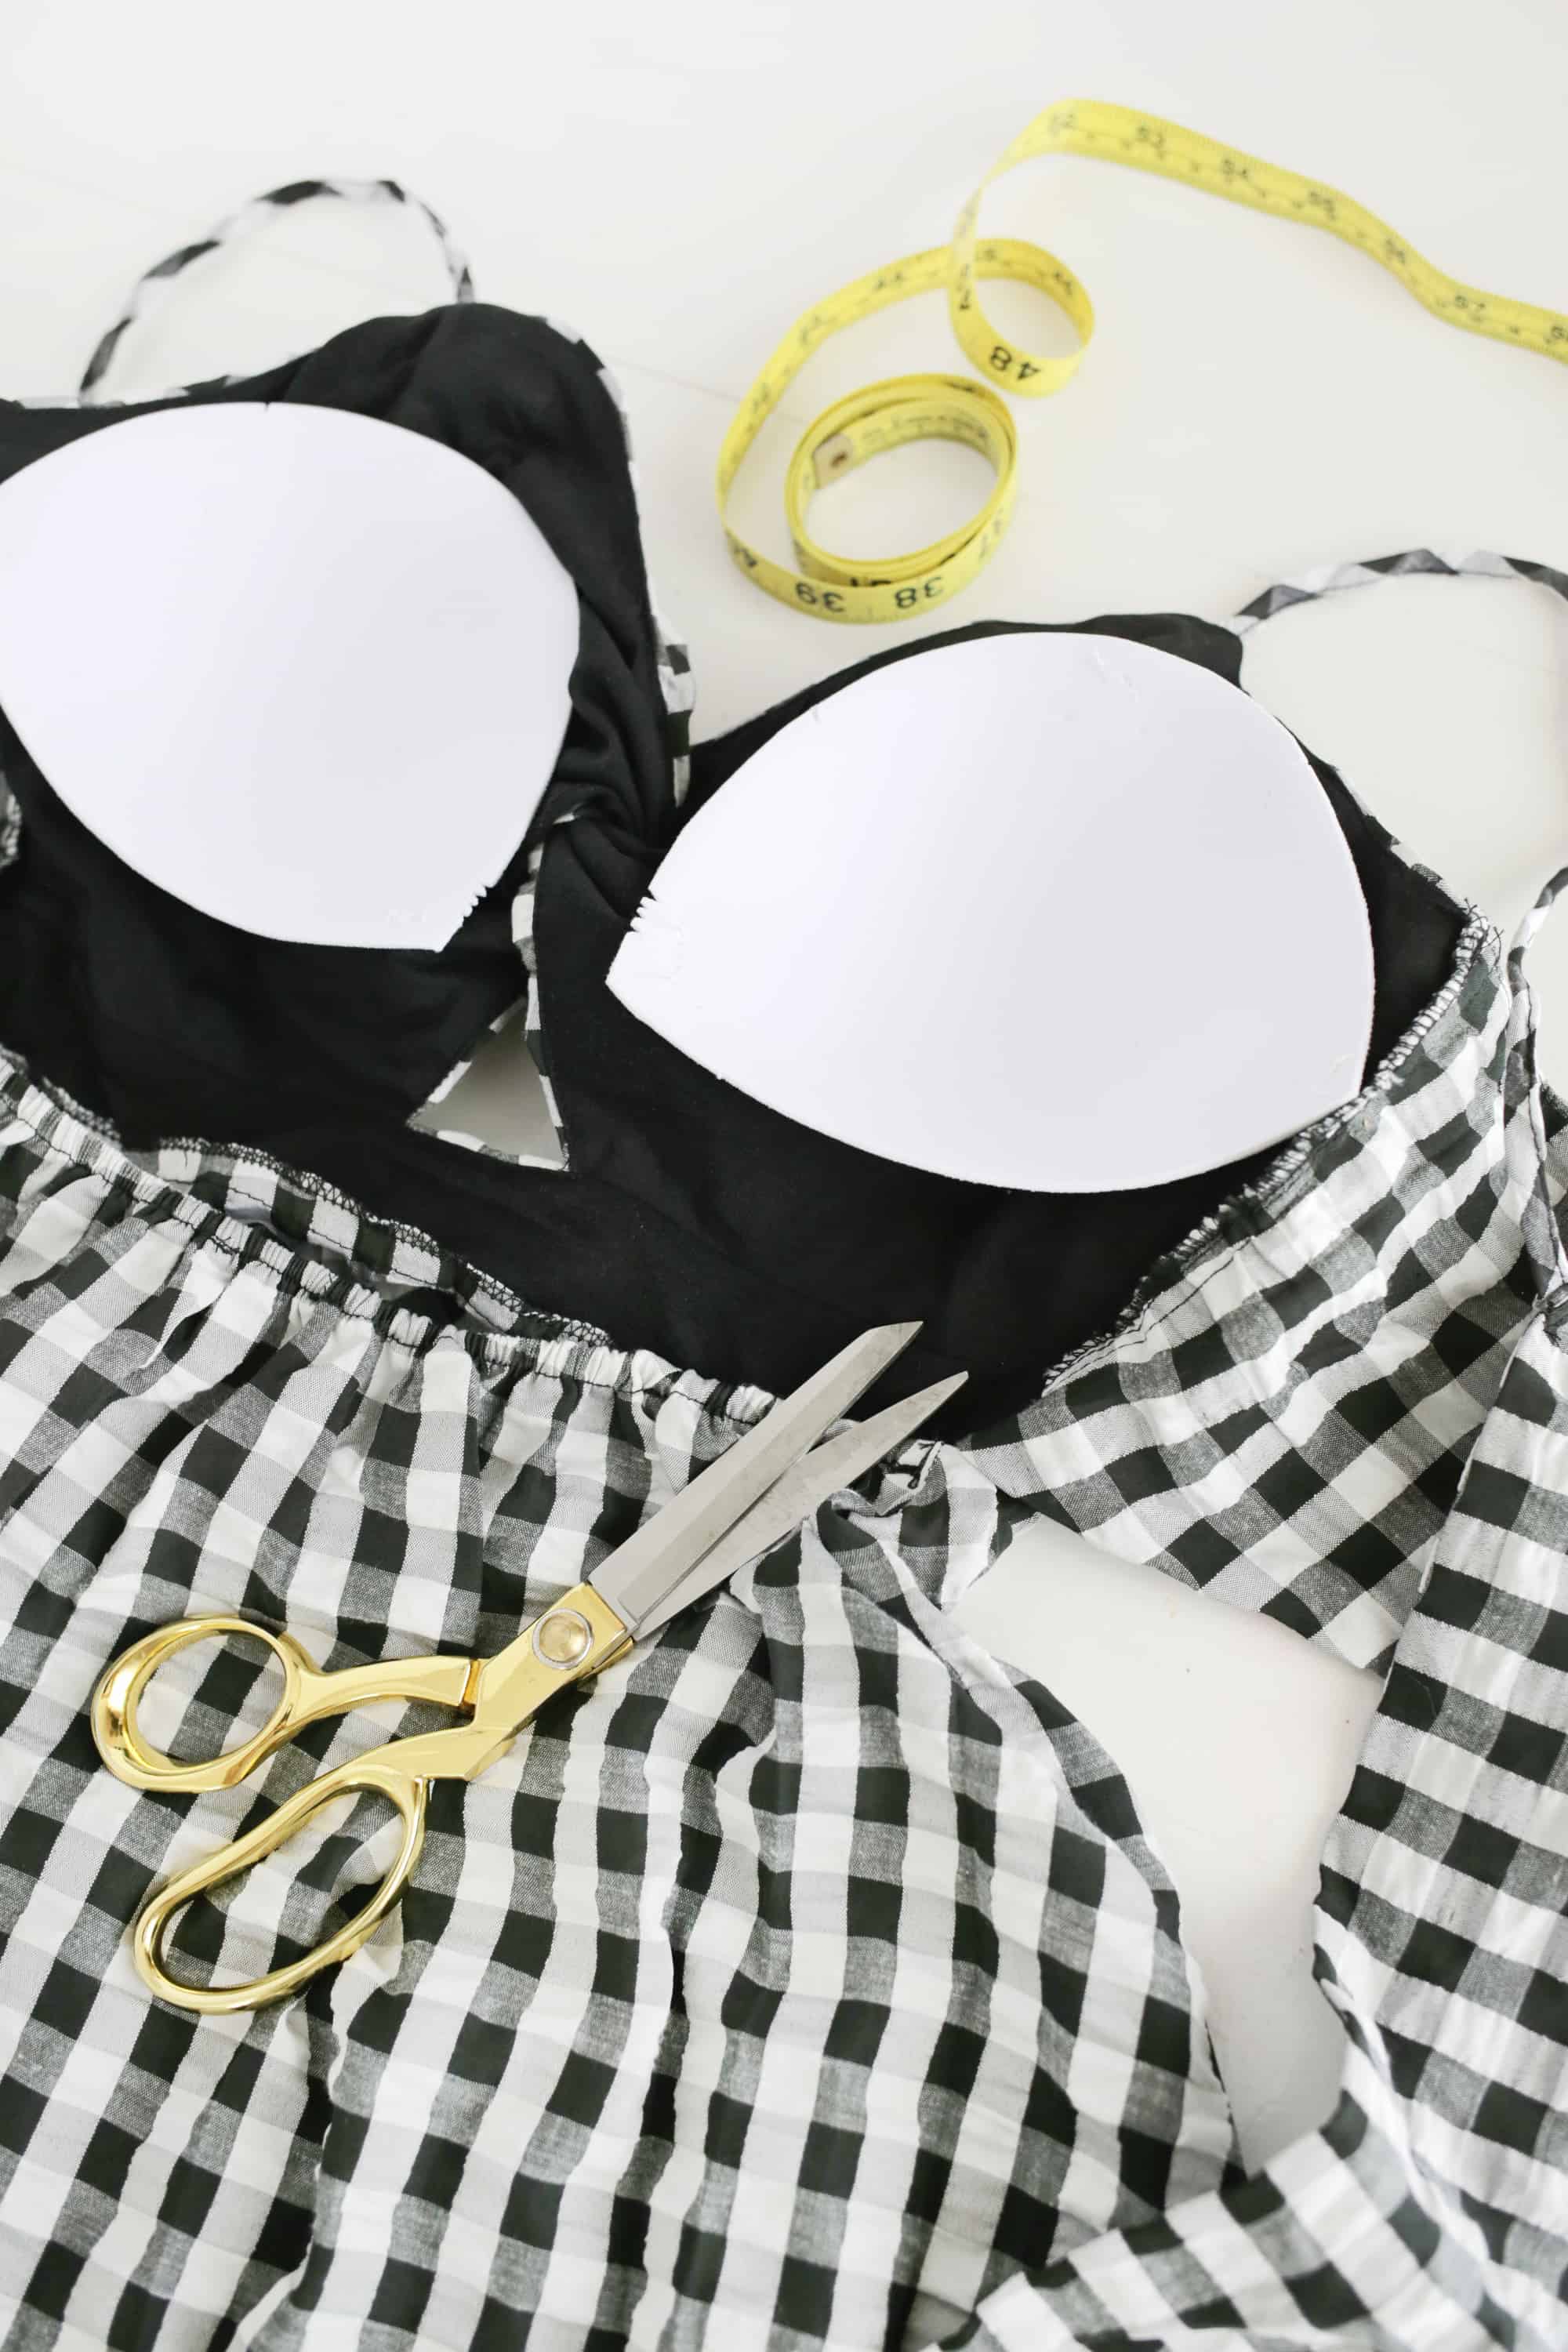
Since we are going to cut this bra, you should find a cheaper braor you can use an old underwire bra every day that you’re about to retire from.
I’ve found some bras on sale that have a strap size that’s too big for me, but since the cups fit I’m still getting them, as that’s the part I’ll be using.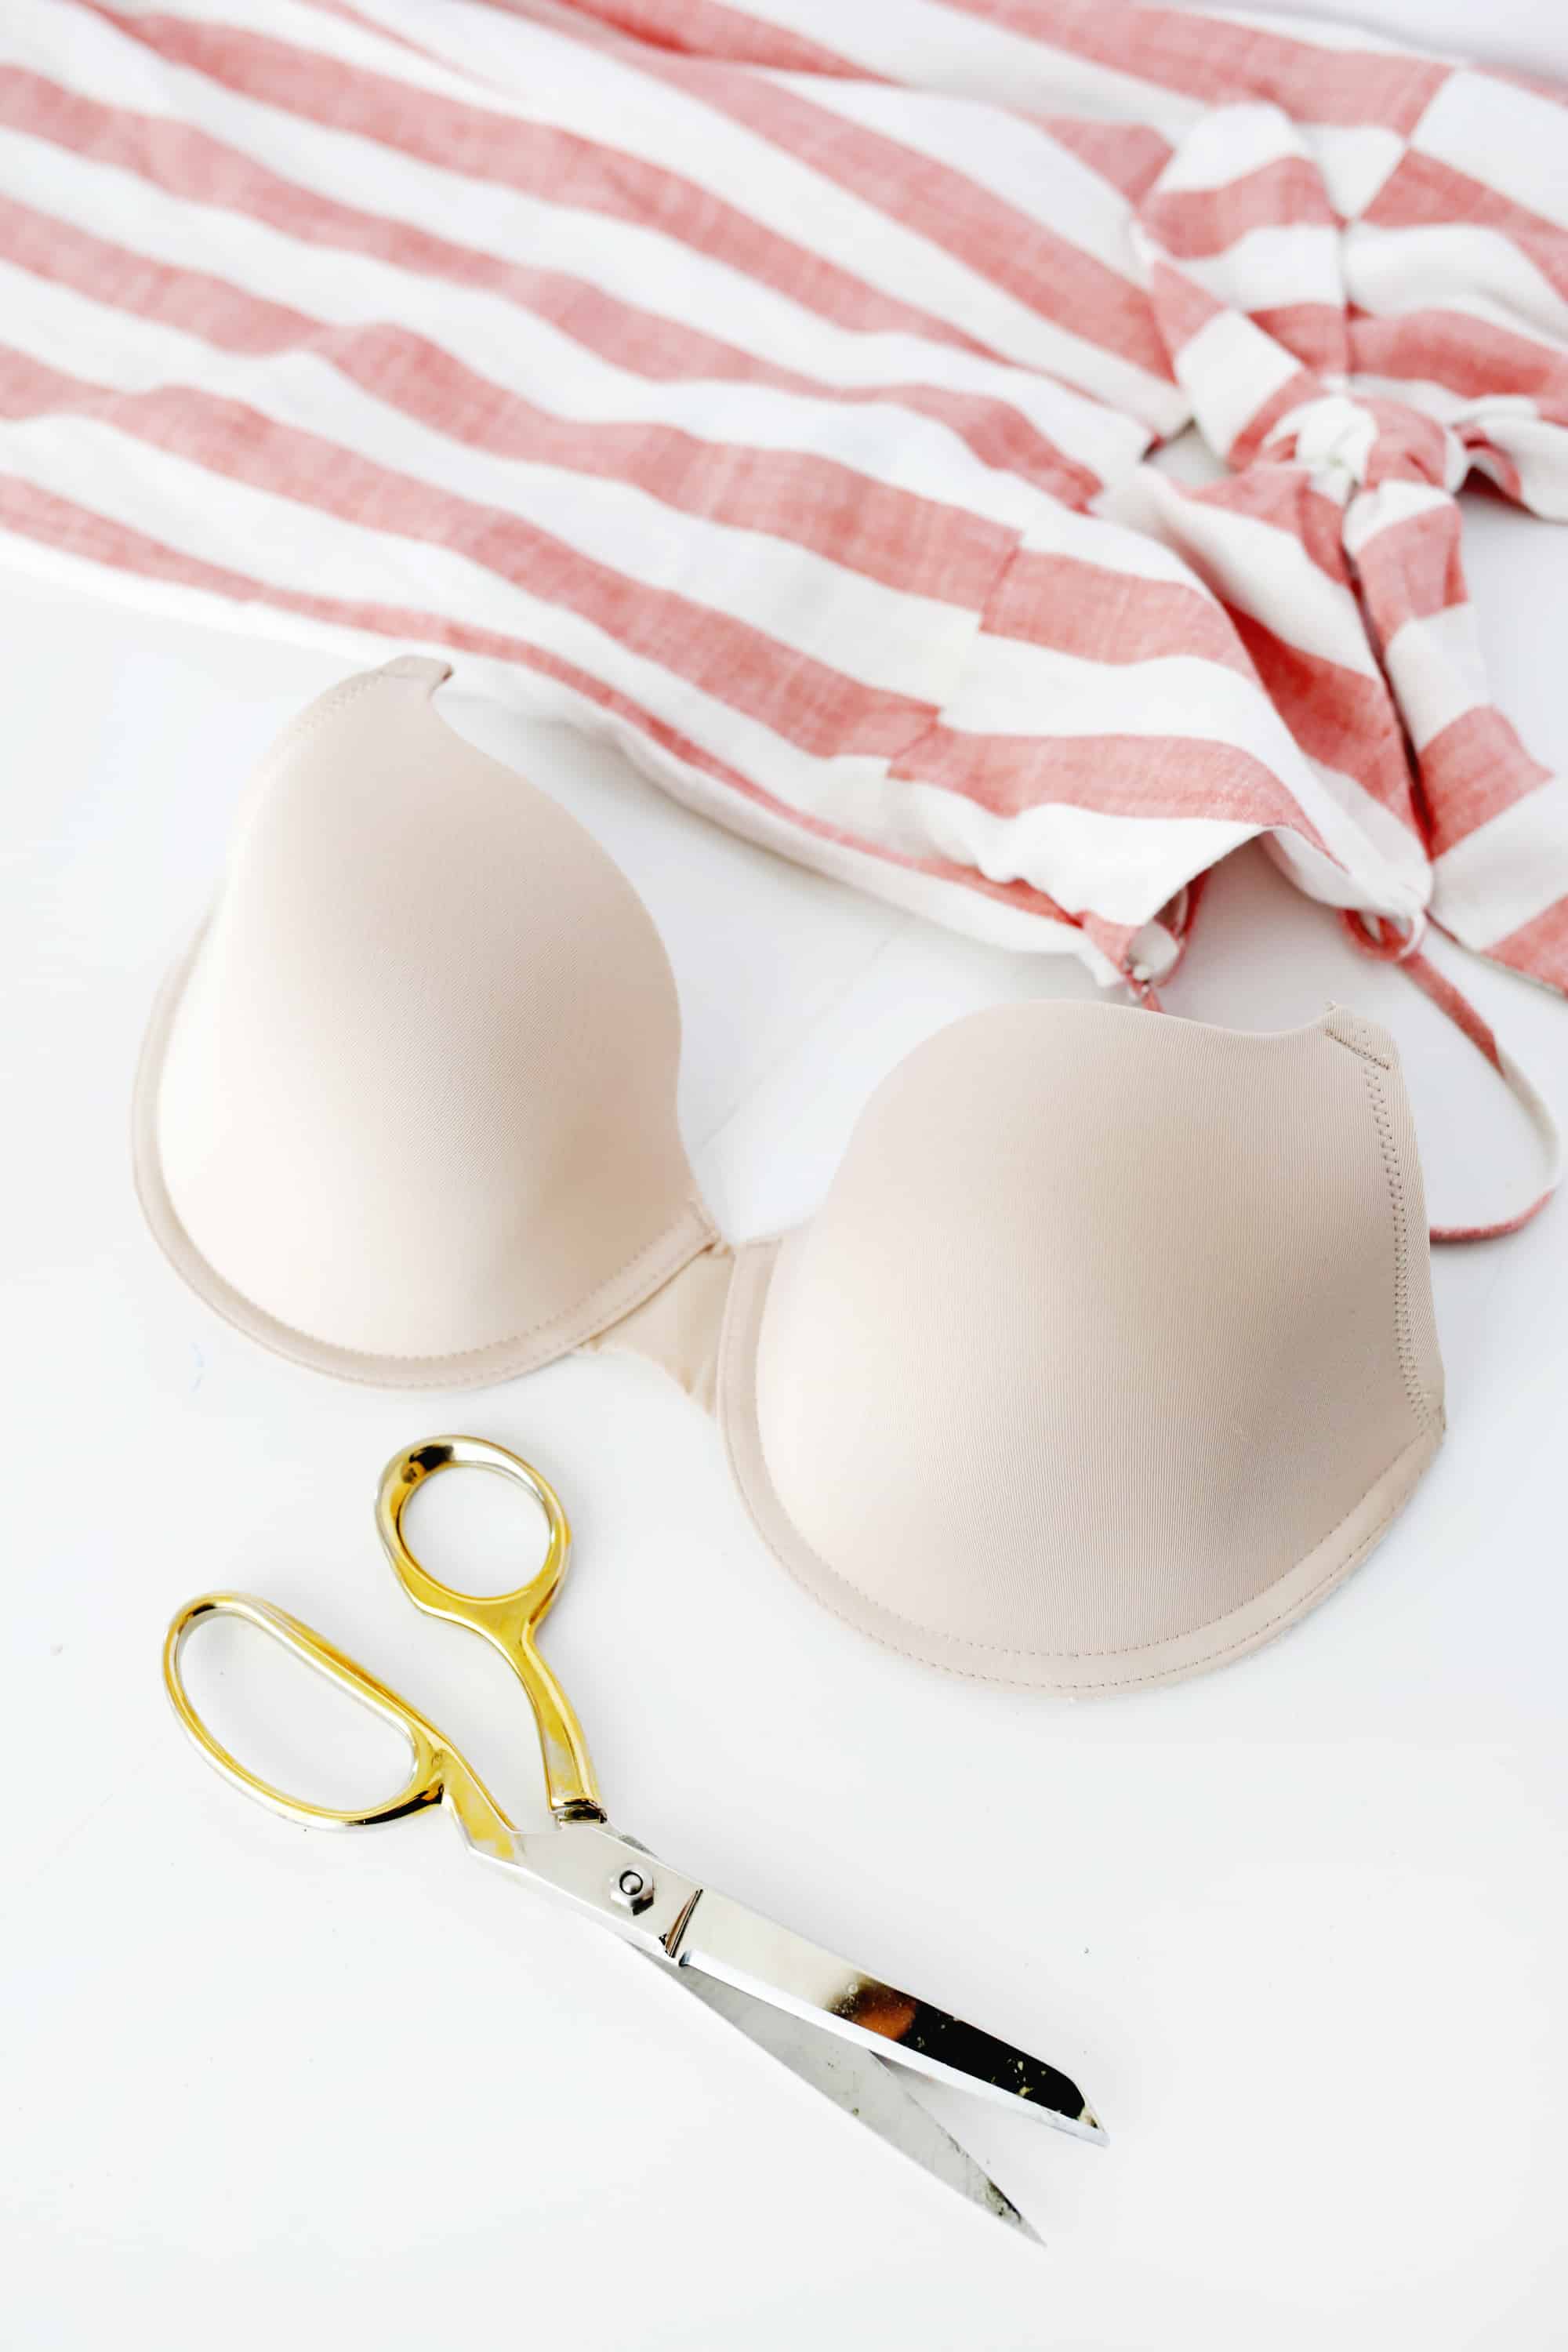 Once you’ve got your bra, evaluate your outfit and decide if you’d like to trim the straps and trim each individual cup, cut off the sides but leave the central seams, or leave the middle and most of the cup alone. all the sides and cut off only the closure on the back.
It really depends on what you can see with your clothes, so try and leave as much as you can and trim the rest.
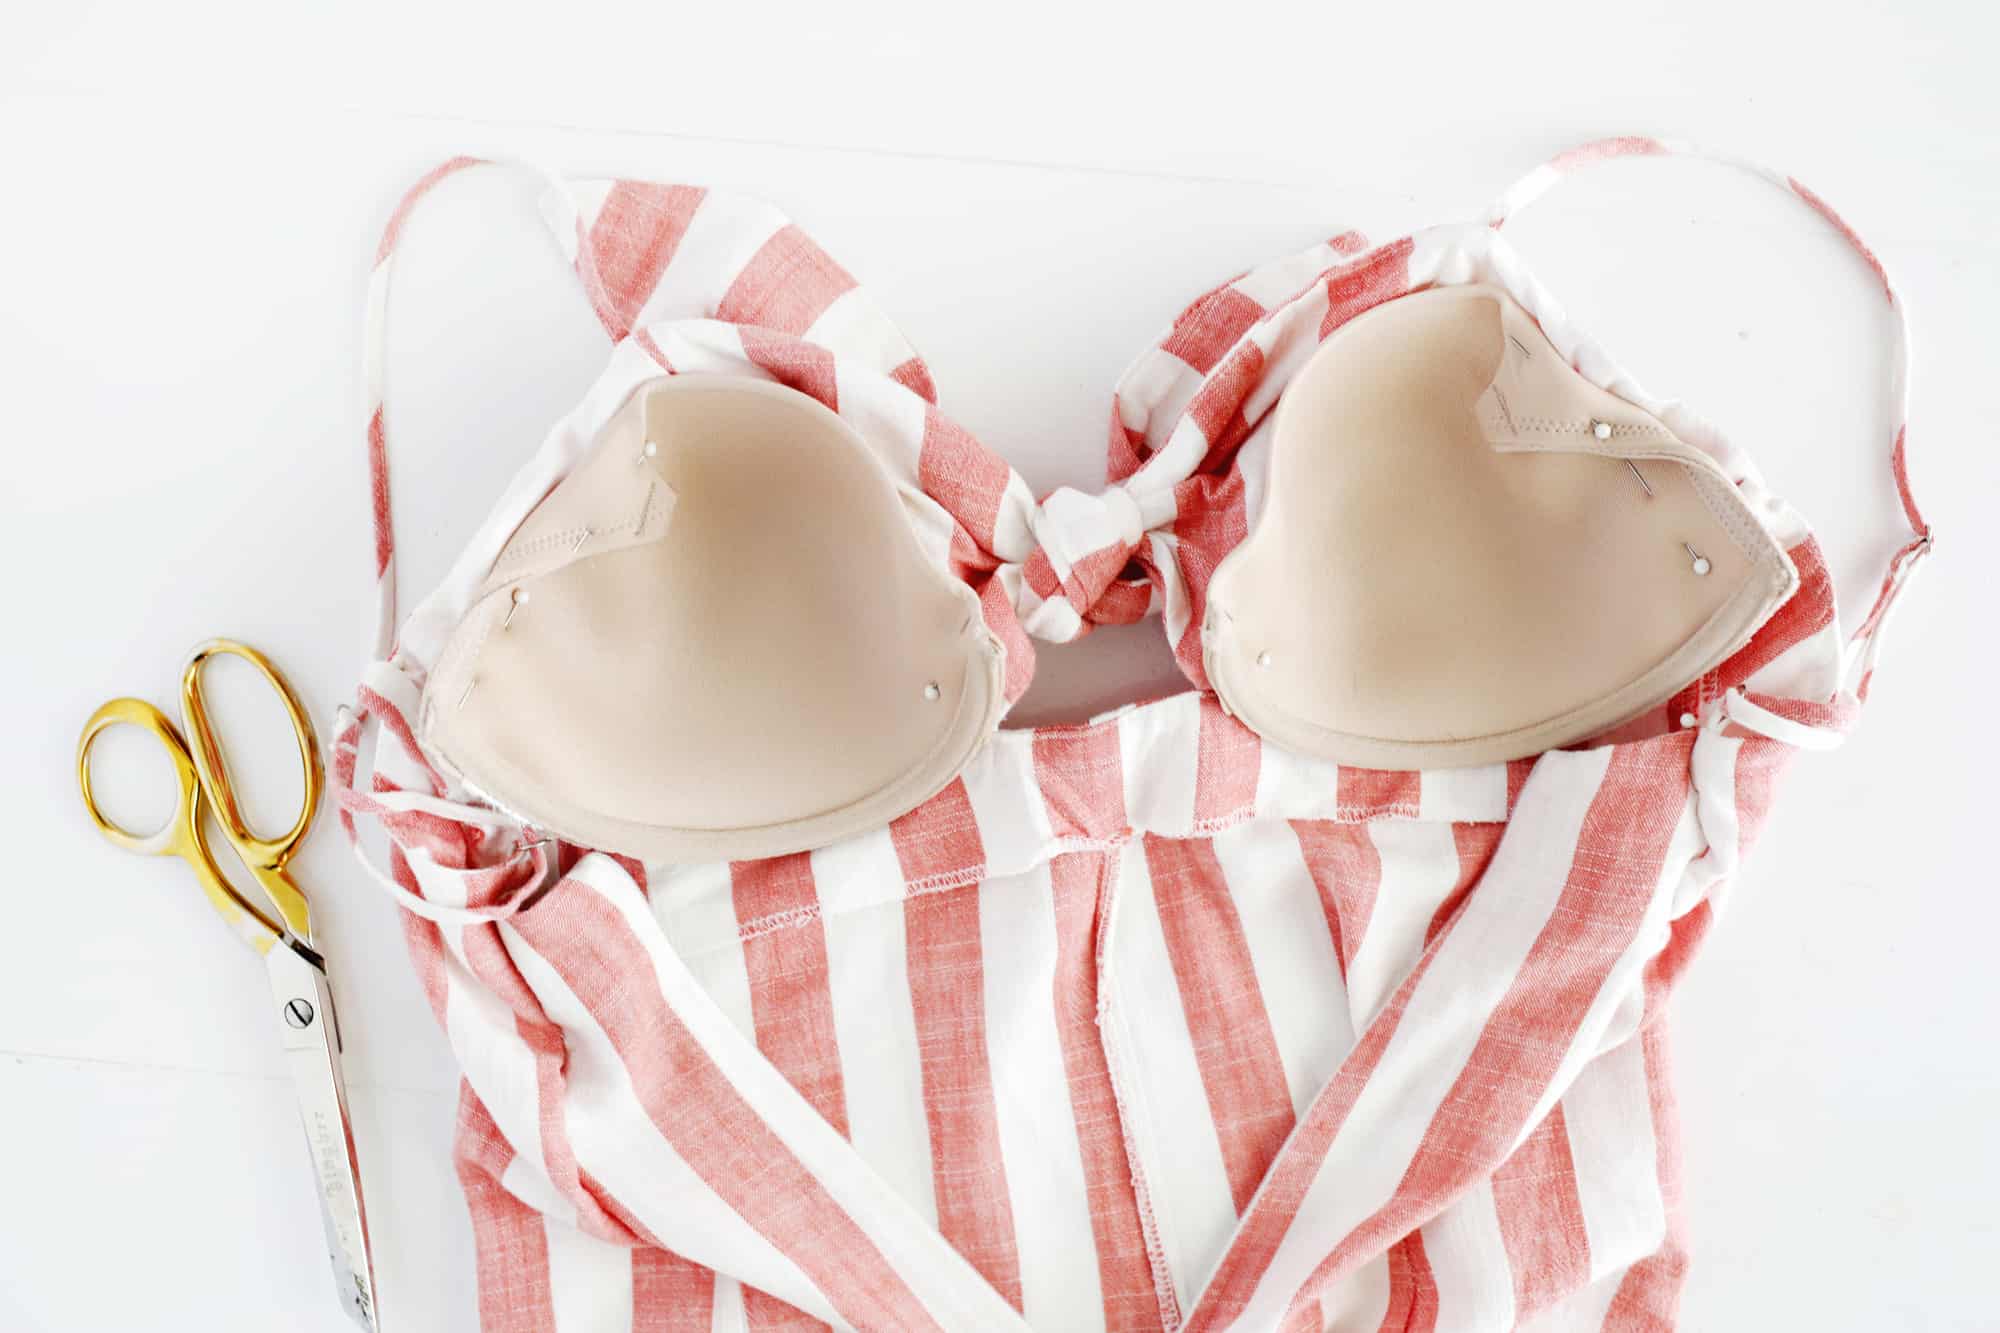
 Try on the clothes and pin the bra/cup in the position you want.
If the top edge or edge of your cup sticks out so much that you can see it, you can fold it inward and secure it with a needle and thread (the folded edge shouldn’t really bother you as it’s soft and spongy. ).
Or, you can trim the edge and sew along a zigzag or stitch if you have one to keep it from unraveling further.
Once your cups are in place, use a needle and thread to attach each cup to the garment in at least four places about 1/4″ from the edge of the cup (on each side and top and bottom). You can do more positions on the cup if you feel the need.
If you leave some sides of your bra exposed, you’ll want to tie those areas down as well.
When attaching cups, use a thread color that you will least notice on the outside of the garment and make very small stitches to where you go through the front and back at roughly the same place.
Or, if your garment has two layers of fabric in that area, simply tuck the inner layer so that no stitches are noticeable from the outside.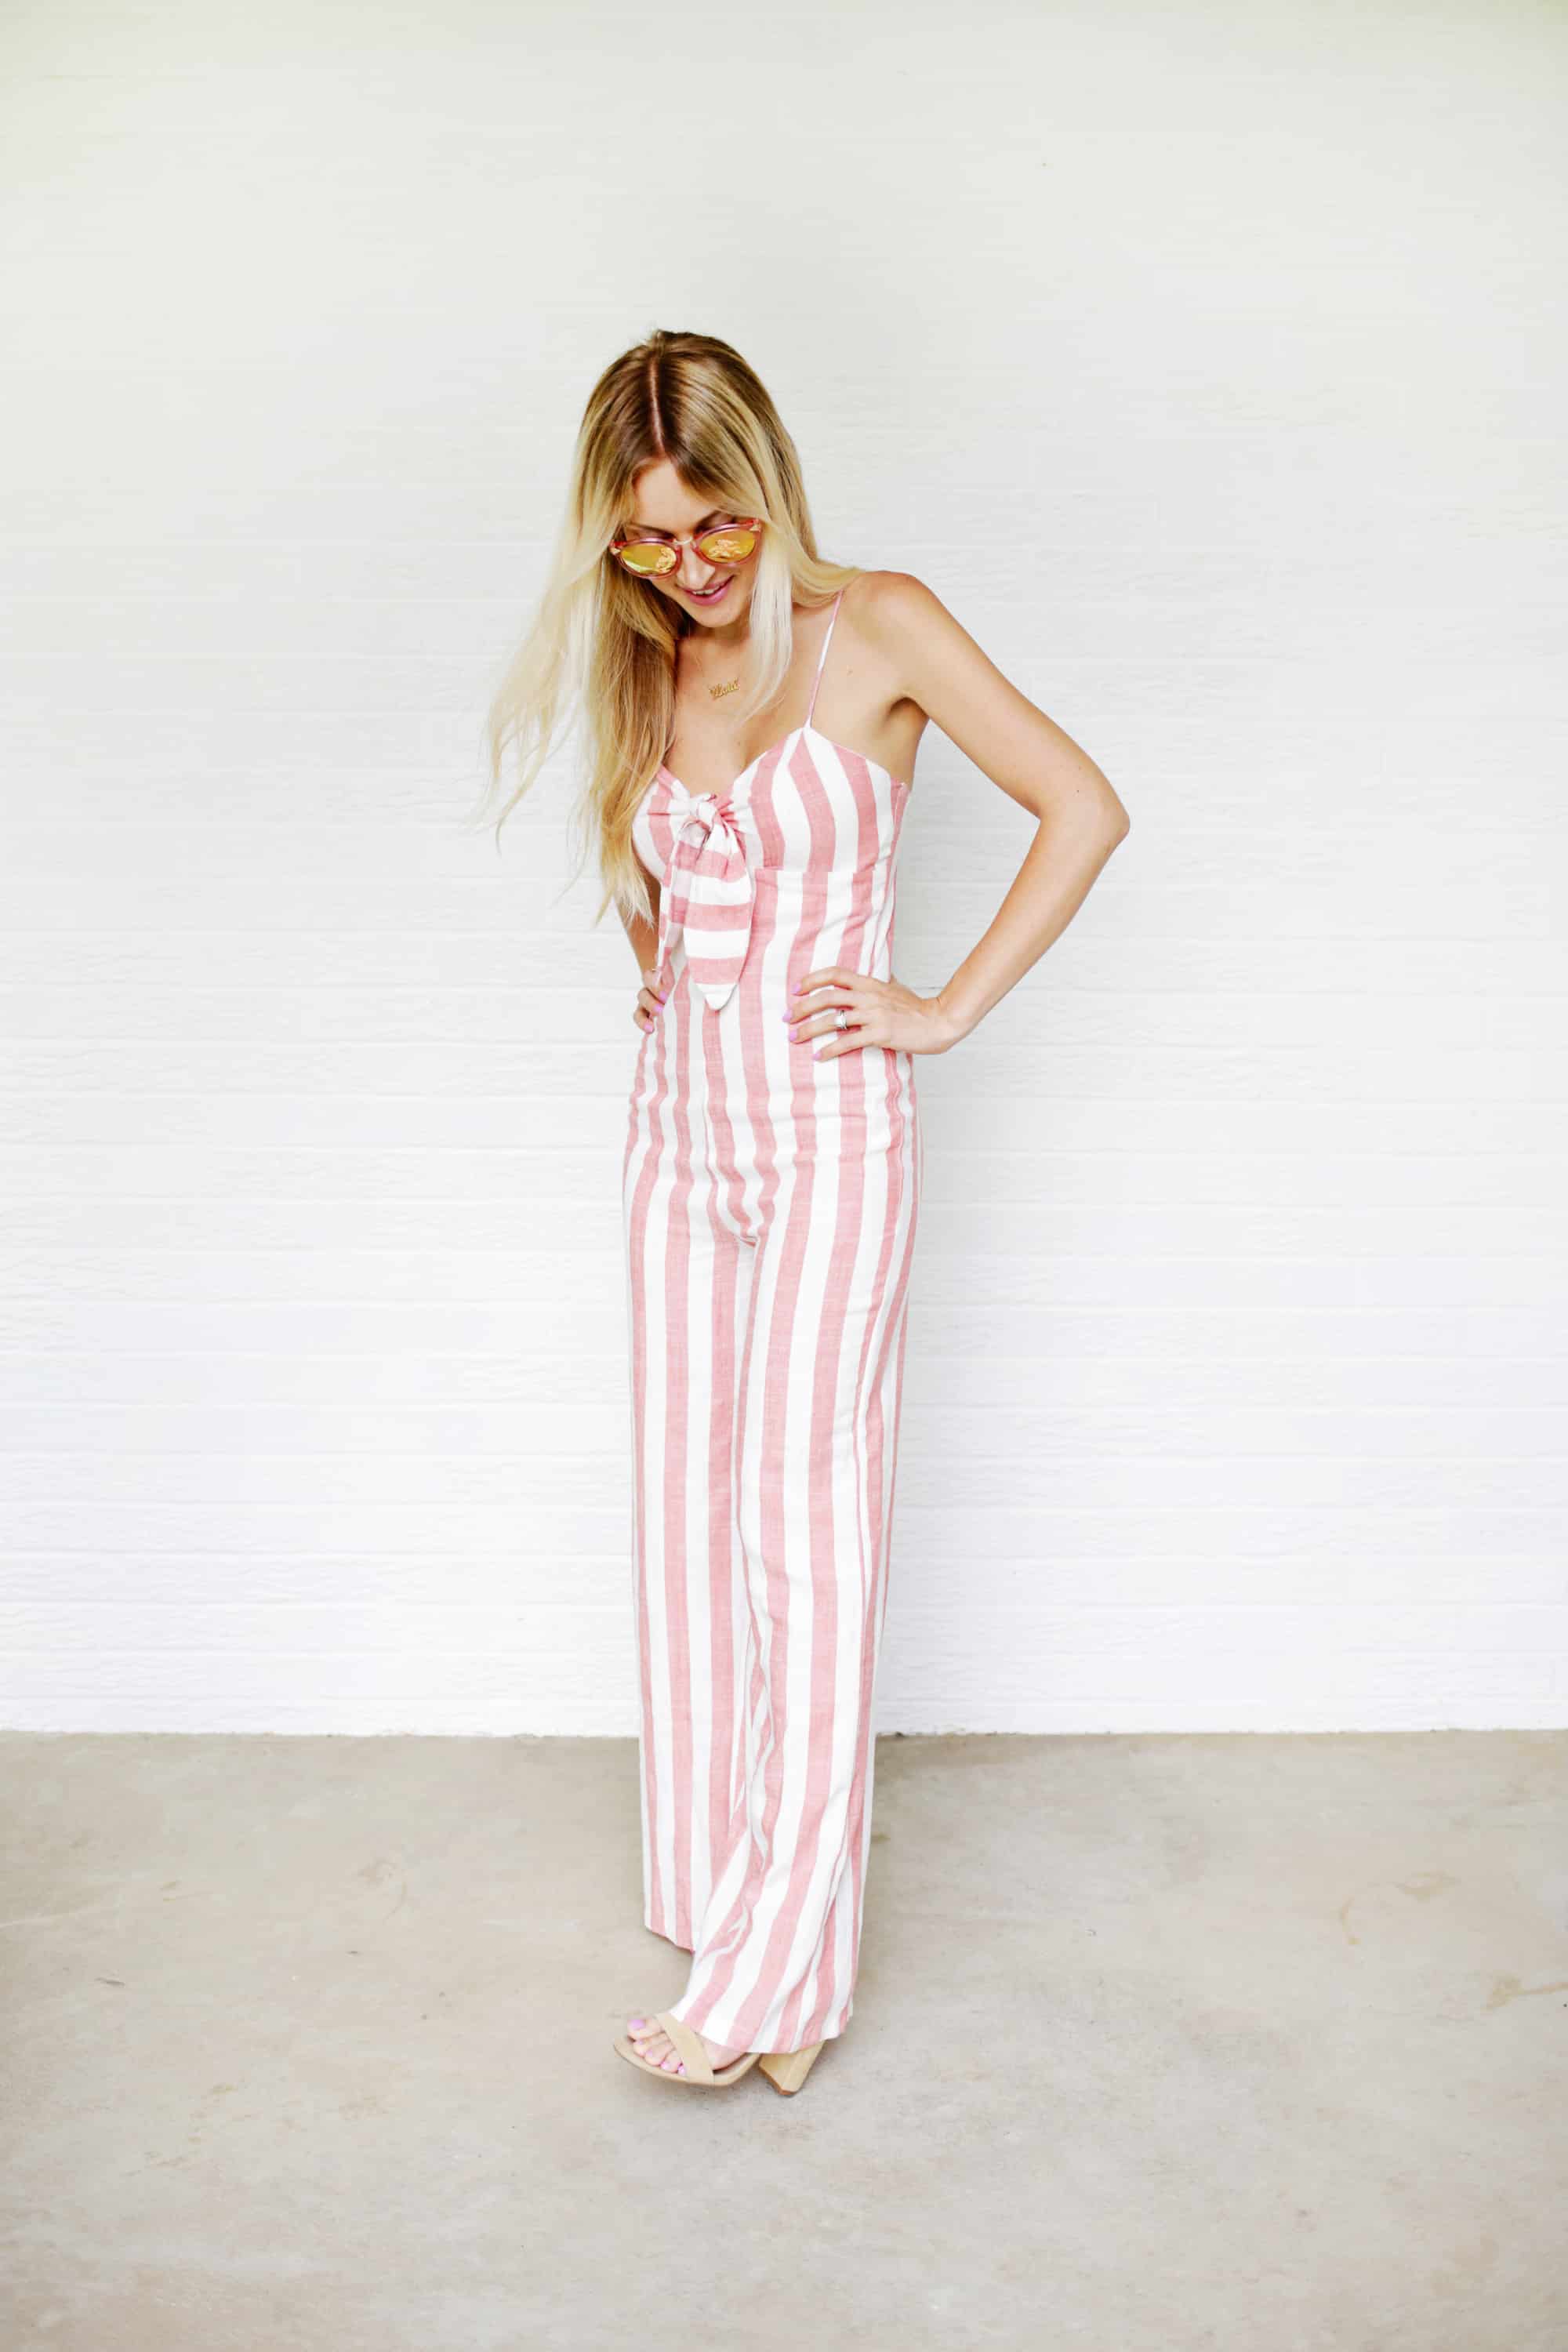 Once your bra is in, your item is ready to wear!
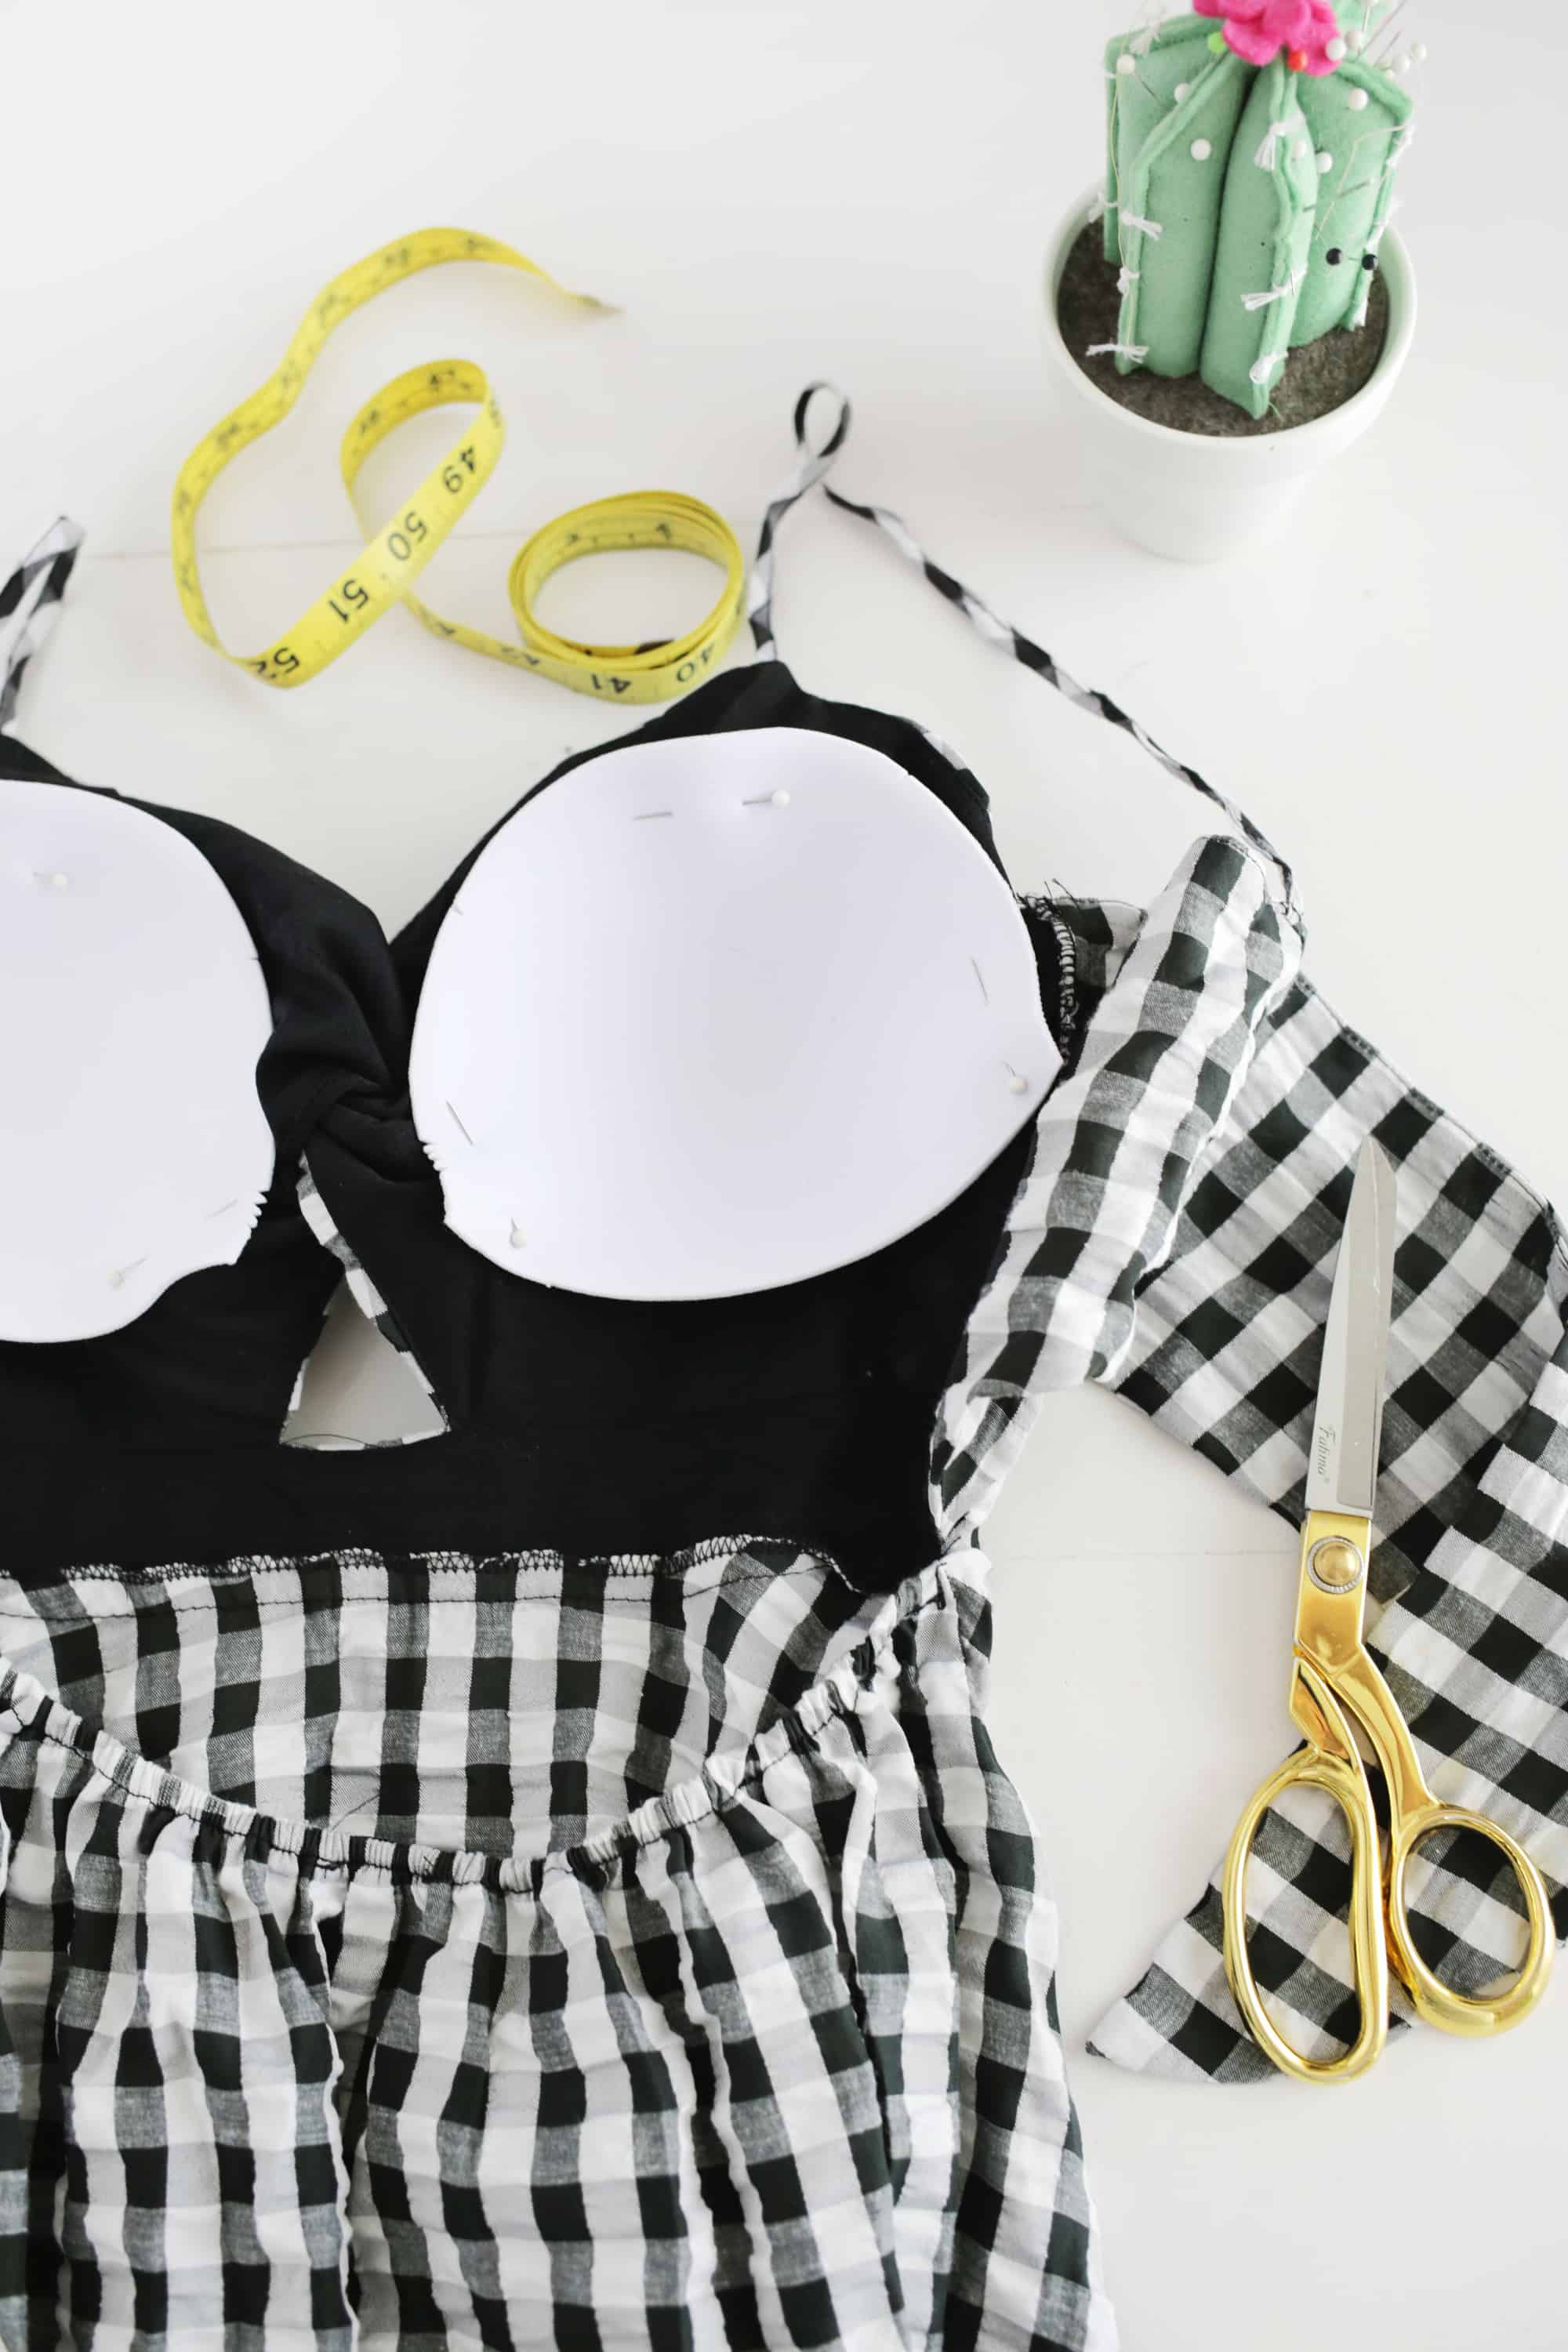 Less supported method: So for this method you will want to buy a pair bra cup fit your size and you may want to get some that match the color of your clothes so it’s as minimal as possible.
Try on your clothes and judge where you want the cups. Pin the cups in place and gently retest the item to make sure you like the placement of the cups.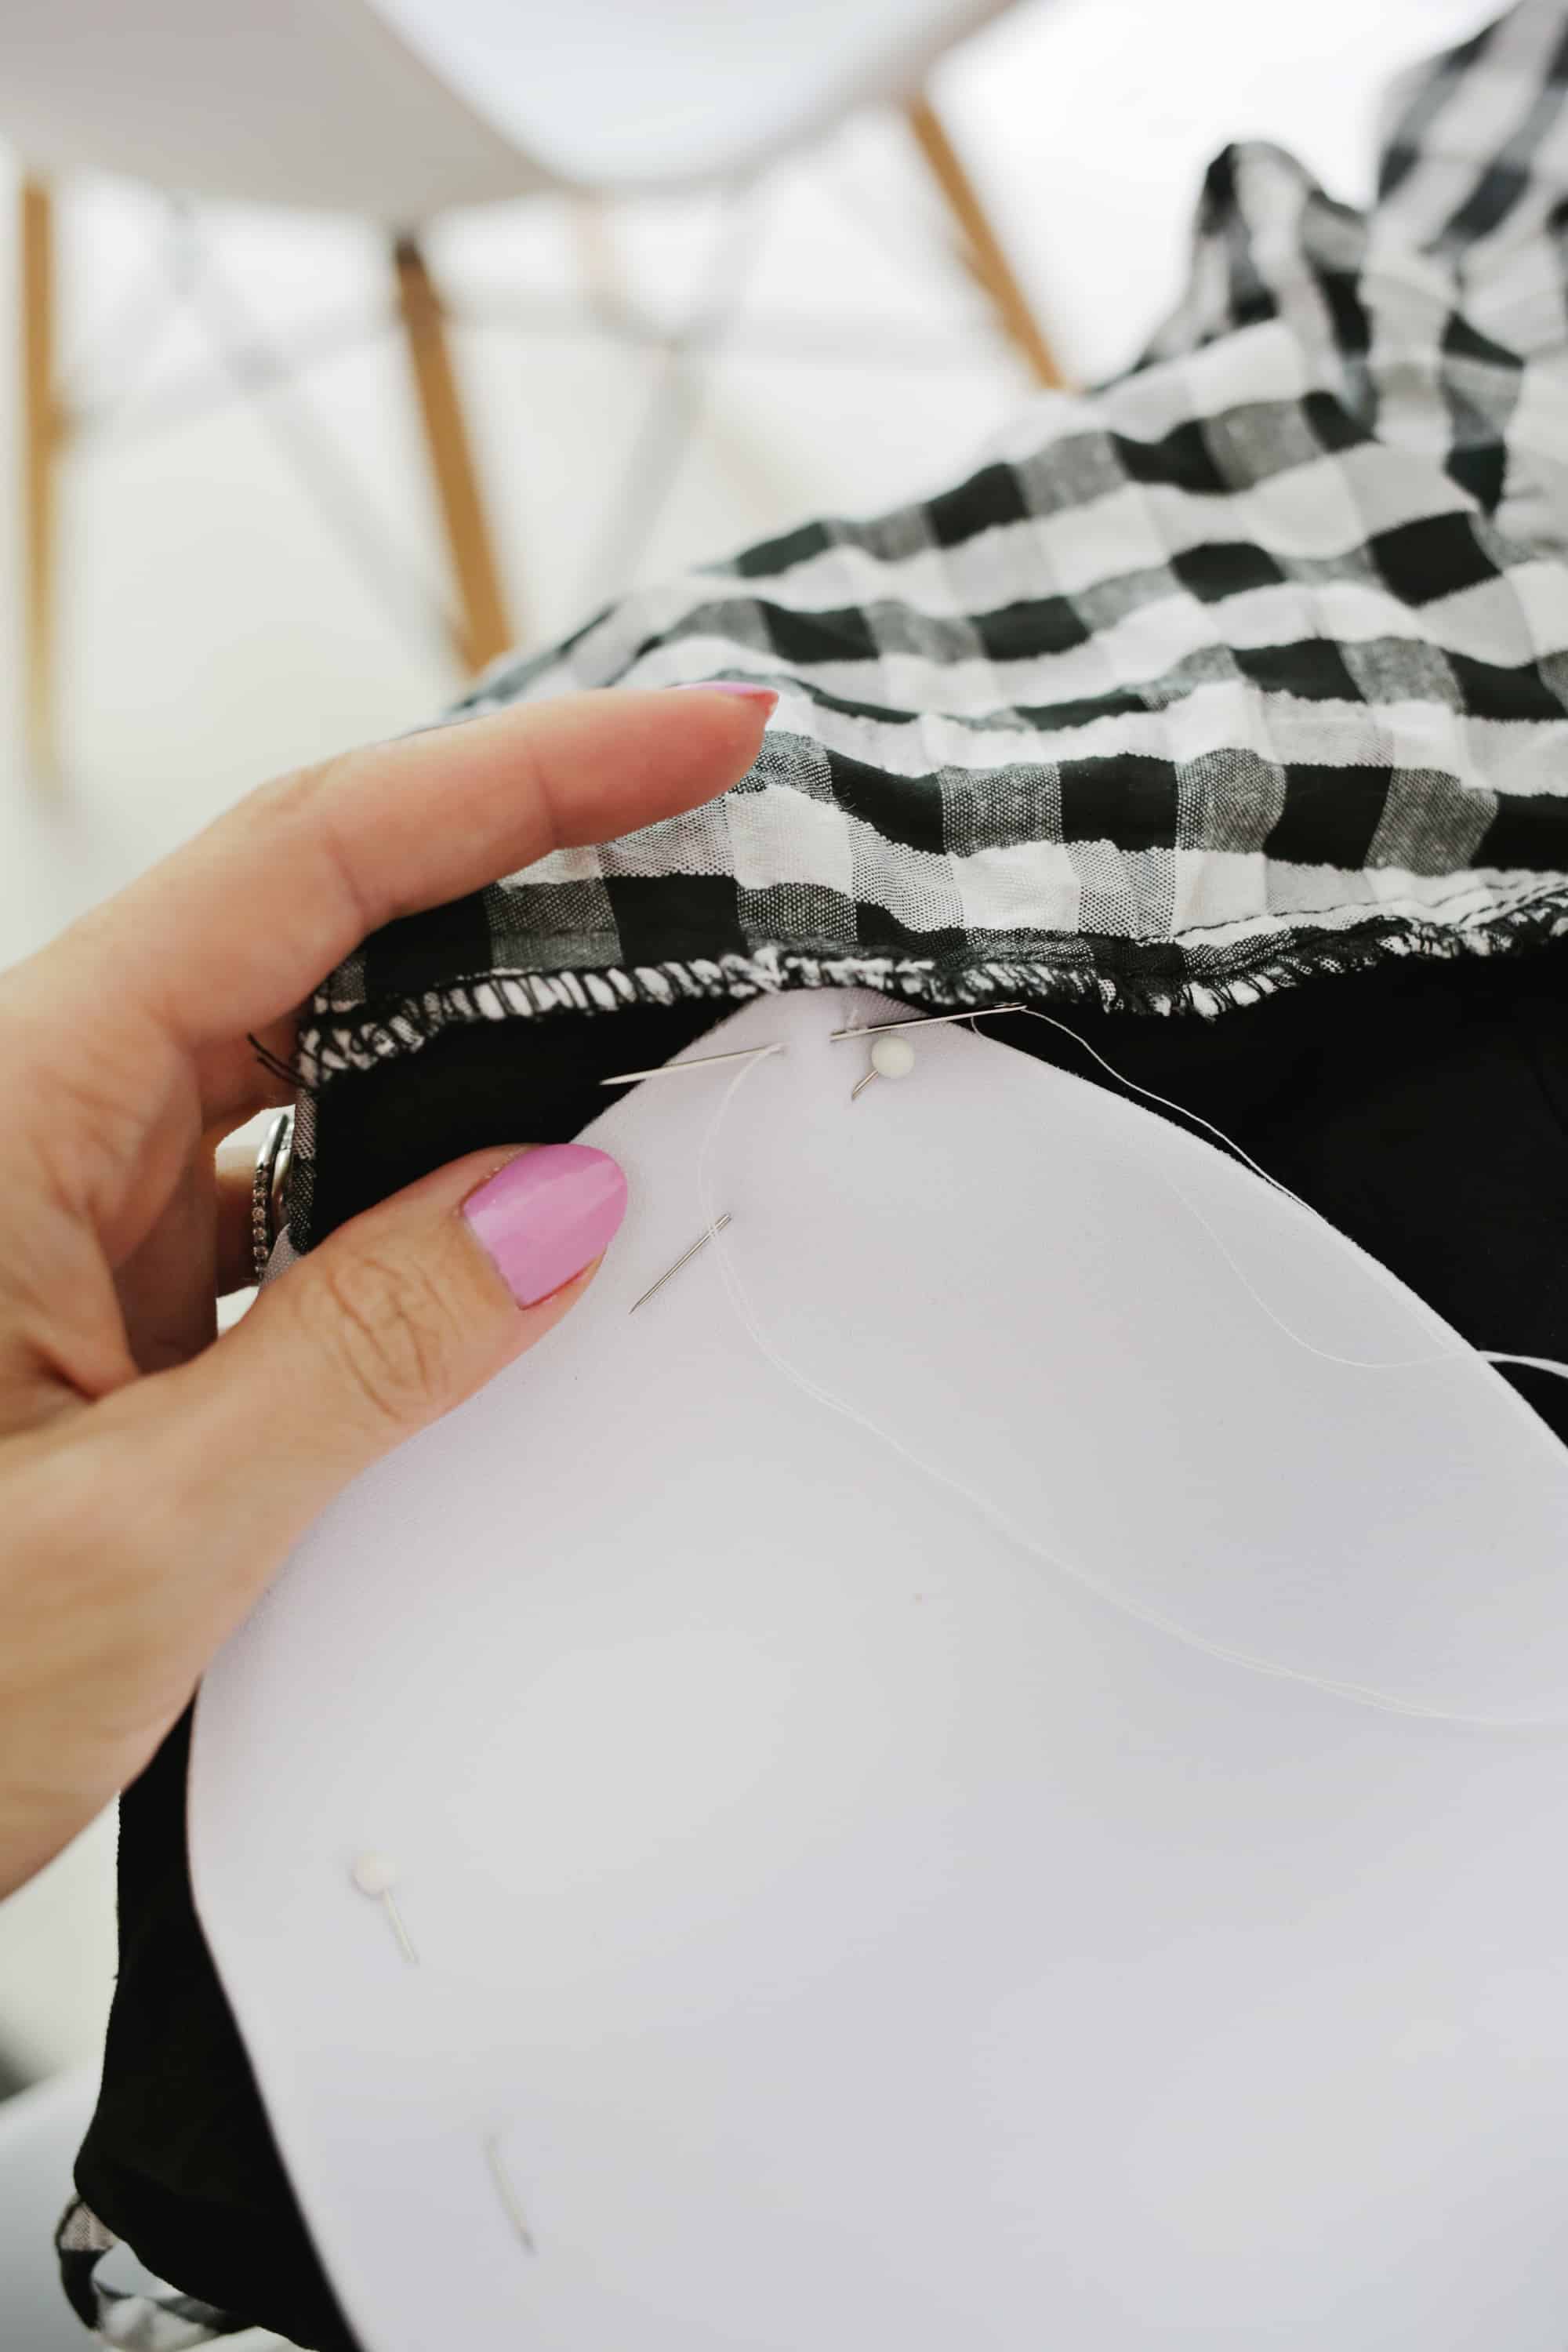 Follow the advice in the first method on how to trim the cup size if needed and how to sew in place.
 Once your cup is in place, your new suit is ready to go!
 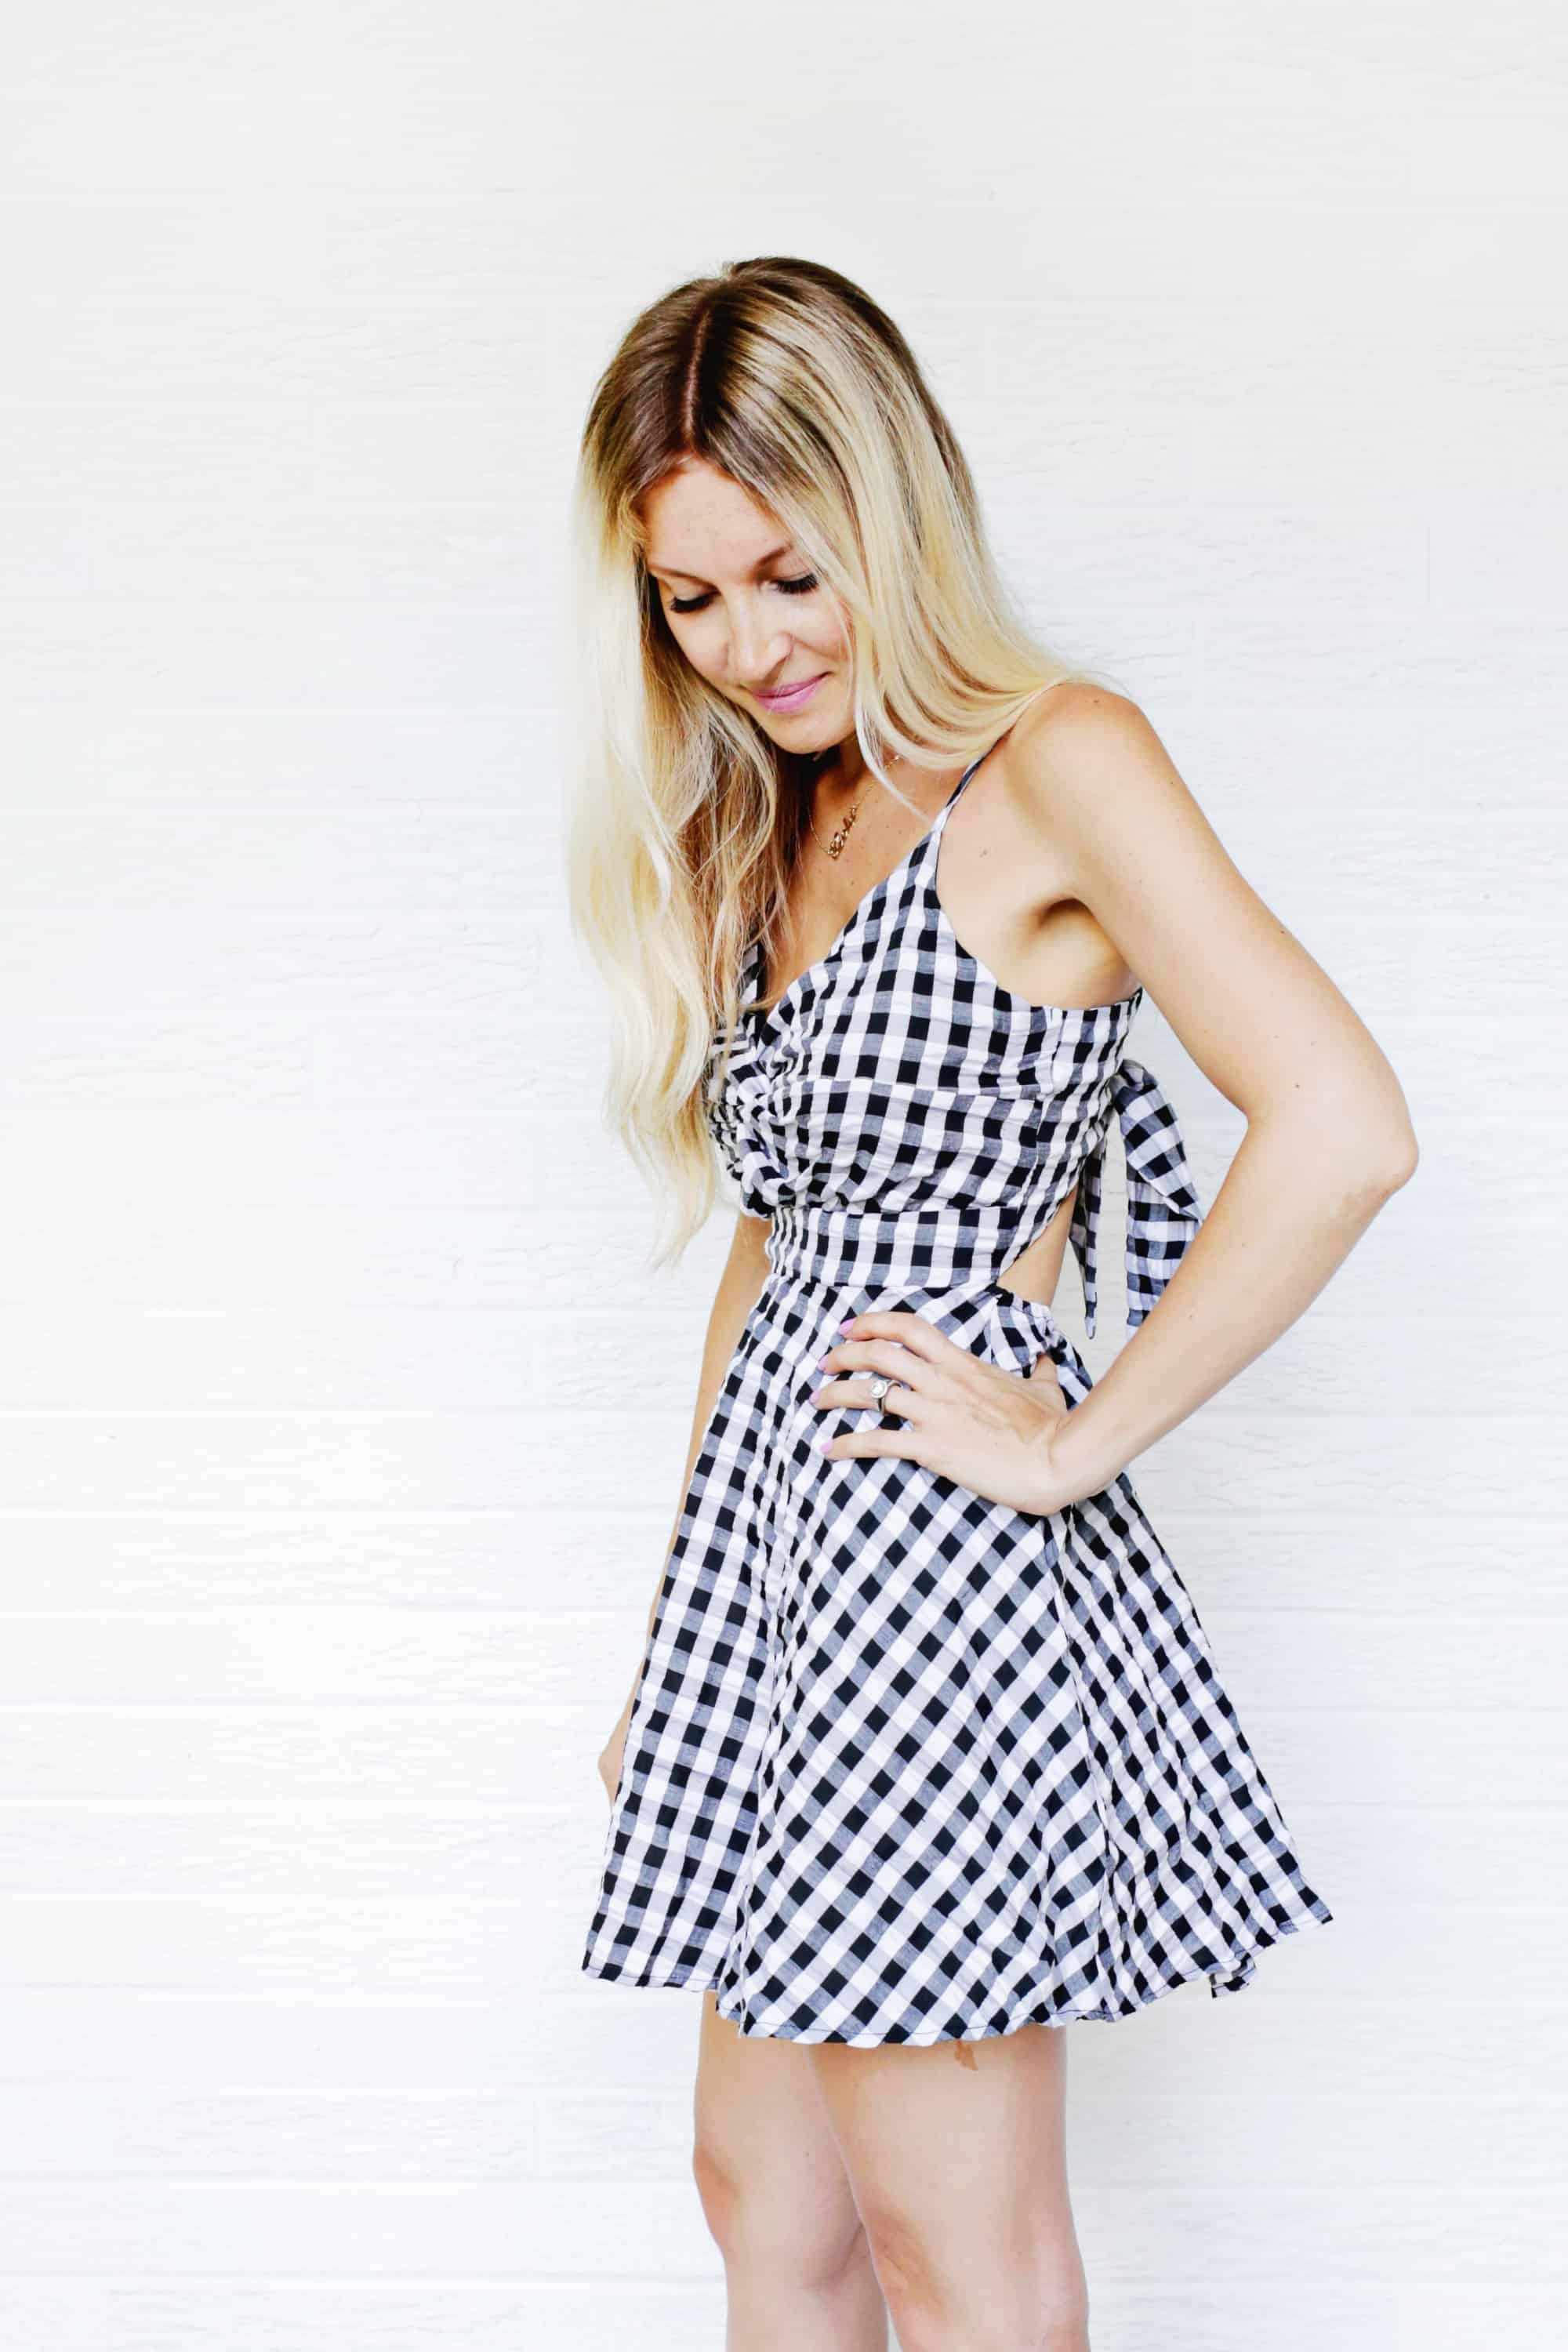 Don’t forget that the more clothes fit you in general, the more effective this will be. So if the waist or bust area is too loose, consider adjusting it to better fit your body before adding a bra.
I hope this hack helps you expand your options on your next shopping spree! so so. Laura
Looking for more DIY sewing supplies? Payment procedures …

How to add bra to clothes
Two simple ways to sew your own bra are available!
-
first
bra -
2
bra cup
optional
Other support methods:
-
Once you’ve got your bra, evaluate your outfit and decide if you’d like to trim the straps and trim each individual cup, cut off the sides but leave the central seams, or leave the middle and most of the cup alone. all the sides and cut off only the closure on the back.
-
Try on the clothes and pin the bra/cup in the position you want.
-
If the top edge or edge of your cup sticks out so much that you can see it, you can fold it inward and secure it with a needle and thread (the folded edge shouldn’t really bother you as it’s soft and spongy. ).
-
Or, you can trim the edge and sew along a zigzag or stitch if you have one to keep it from unraveling further.
-
Once your cups are in place, use a needle and thread to attach each cup to the garment in at least four places about 1/4″ from the edge of the cup (on each side and top and bottom). You can do more positions on the cup if you feel the need.
-
If you leave some sides of your bra exposed, you’ll want to tie those areas down as well.
-
When attaching cups, use a thread color that you will least notice on the outside of the garment and make very small stitches to where you go through the front and back at roughly the same place.
-
Or, if your garment has two layers of fabric in that area, simply tuck the inner layer so that no stitches are noticeable from the outside.
-
Once your bra is in, your item is ready to wear!
Less supported method:
-
So for this method you will want to buy a pair bra cup fit your size and you may want to get some that match the color of your clothes so it’s as minimal as possible.
-
Try on your clothes and judge where you want the cups. Pin the cups in place and gently retest the item to make sure you like the placement of the cups.
-
Follow the advice in the first method on how to trim the cup size if needed and how to sew in place.
-
Once your cup is in place, your new suit is ready to go!


