

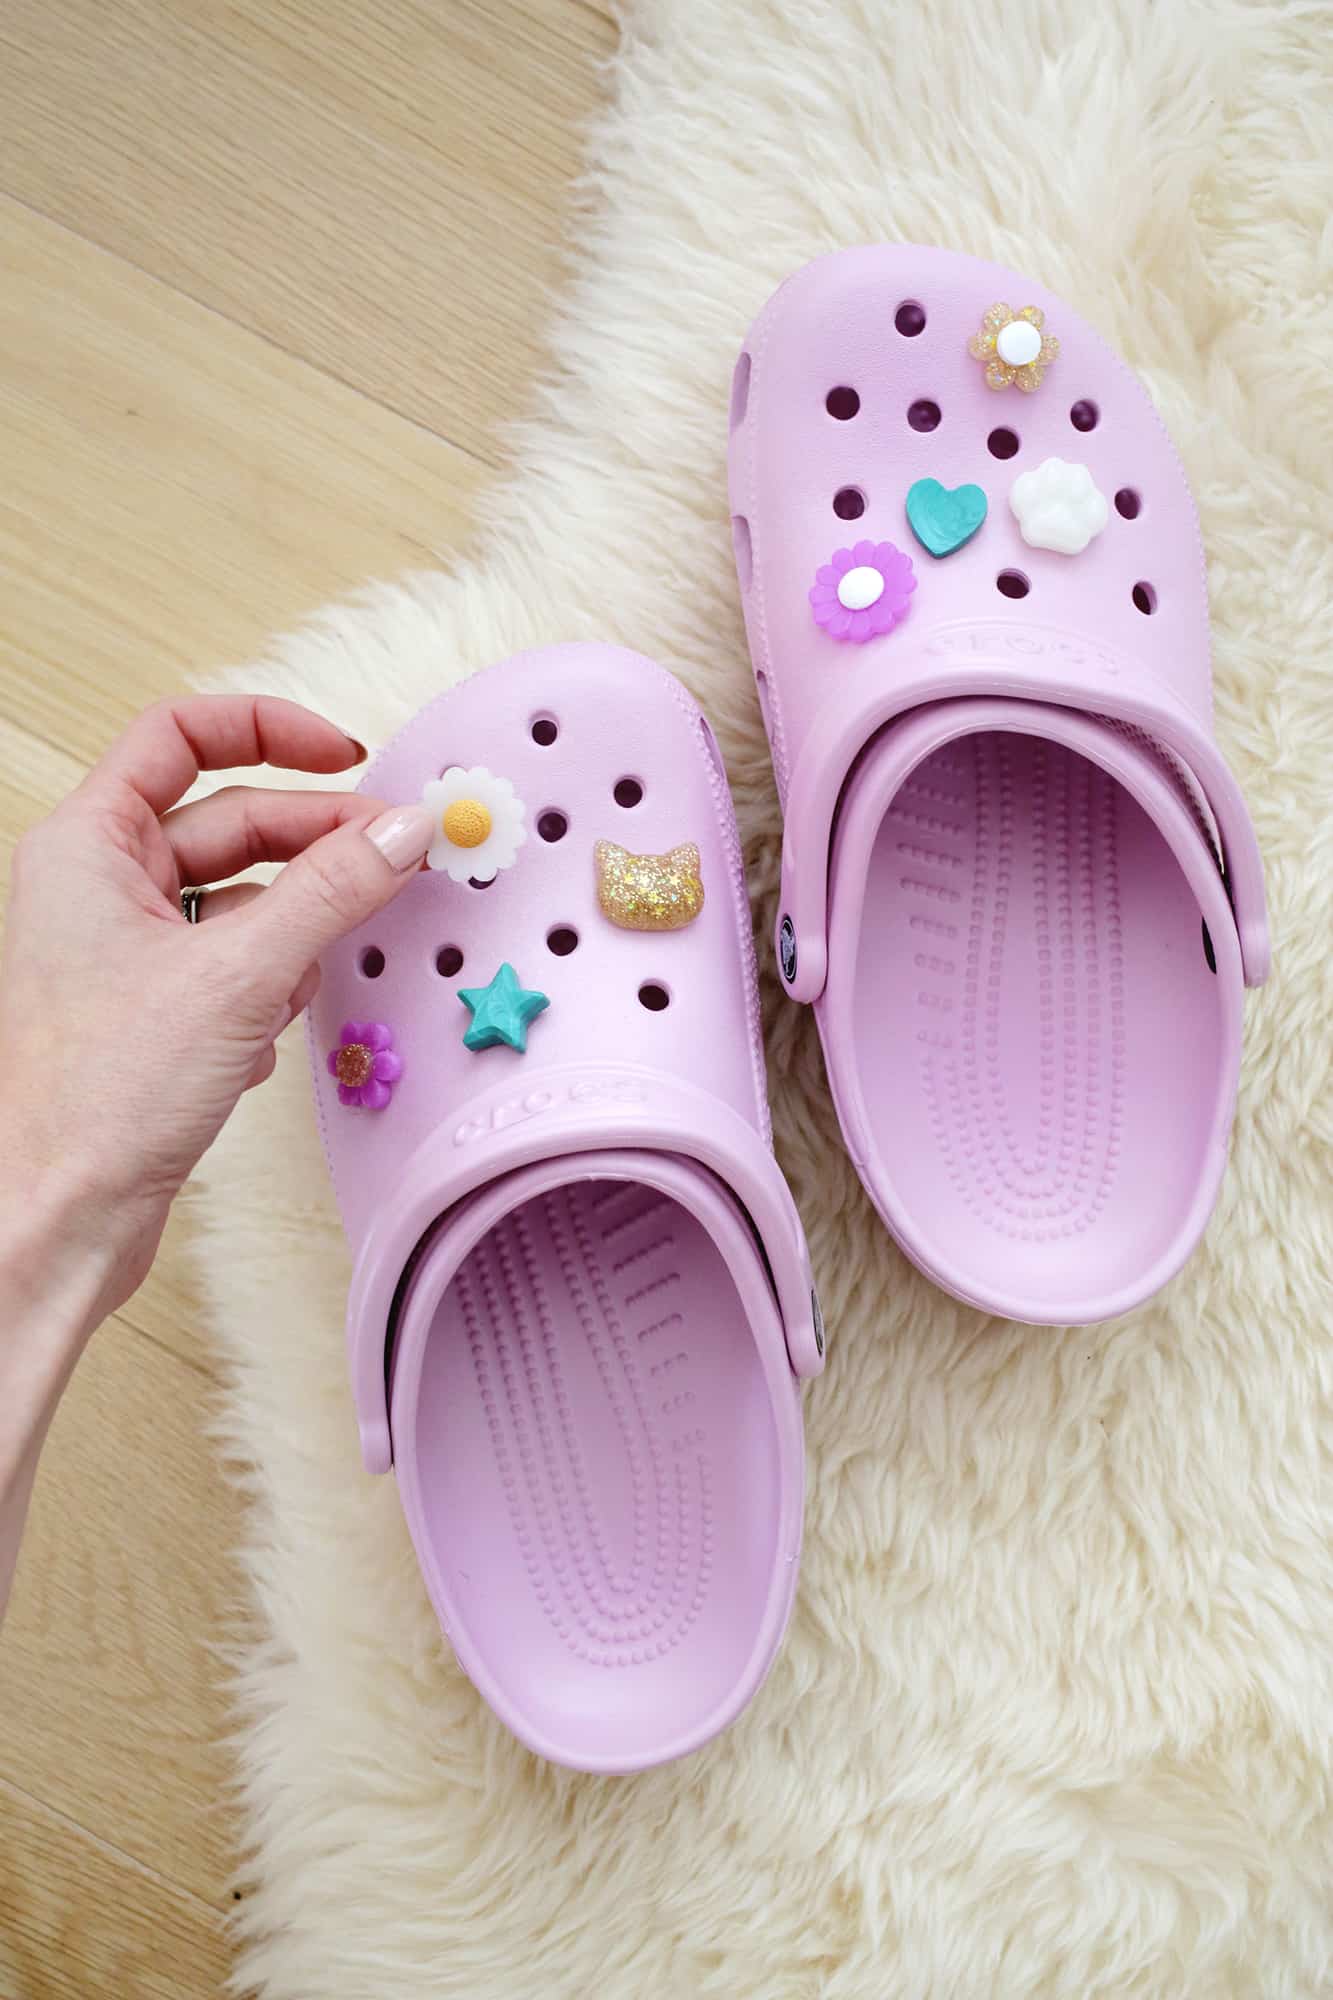
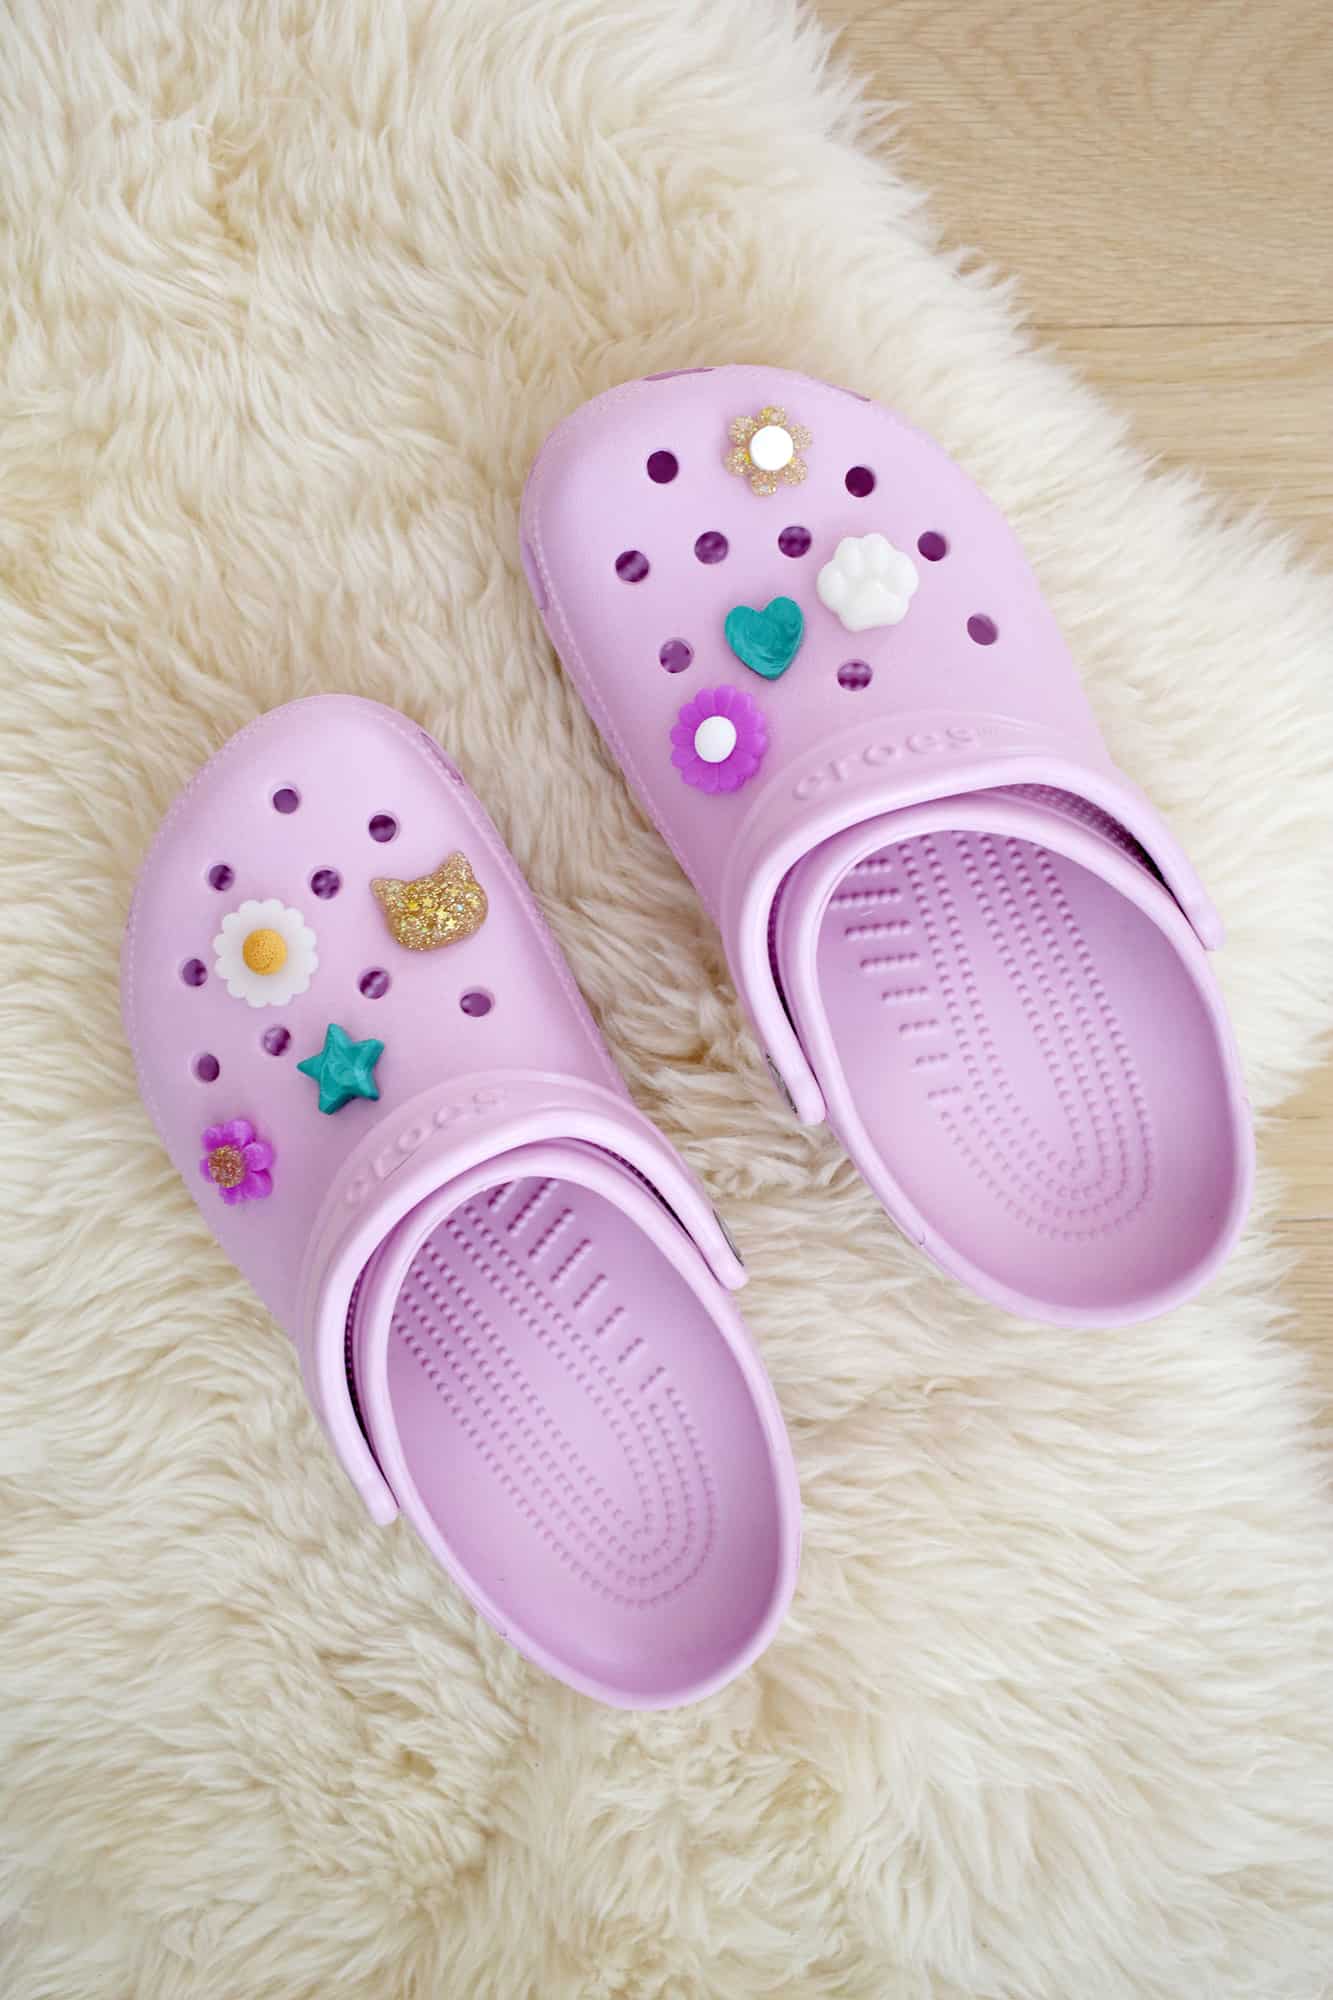
If you haven’t seen it, Crocs is back in a great way and we have one of the easiest DIY ways to customize your own Croc charms to adorn your shoes.
We’re partnering with Sculpey on this post because they Liquid Sculpey is the perfect material to make charms (and more, like this Statement Hair Clips!).
I love the fun, quick, and easy do-it-yourself jobs you can do at home and Liquid Sculpey Projects like this are one of those that older and younger kids can get involved in too!
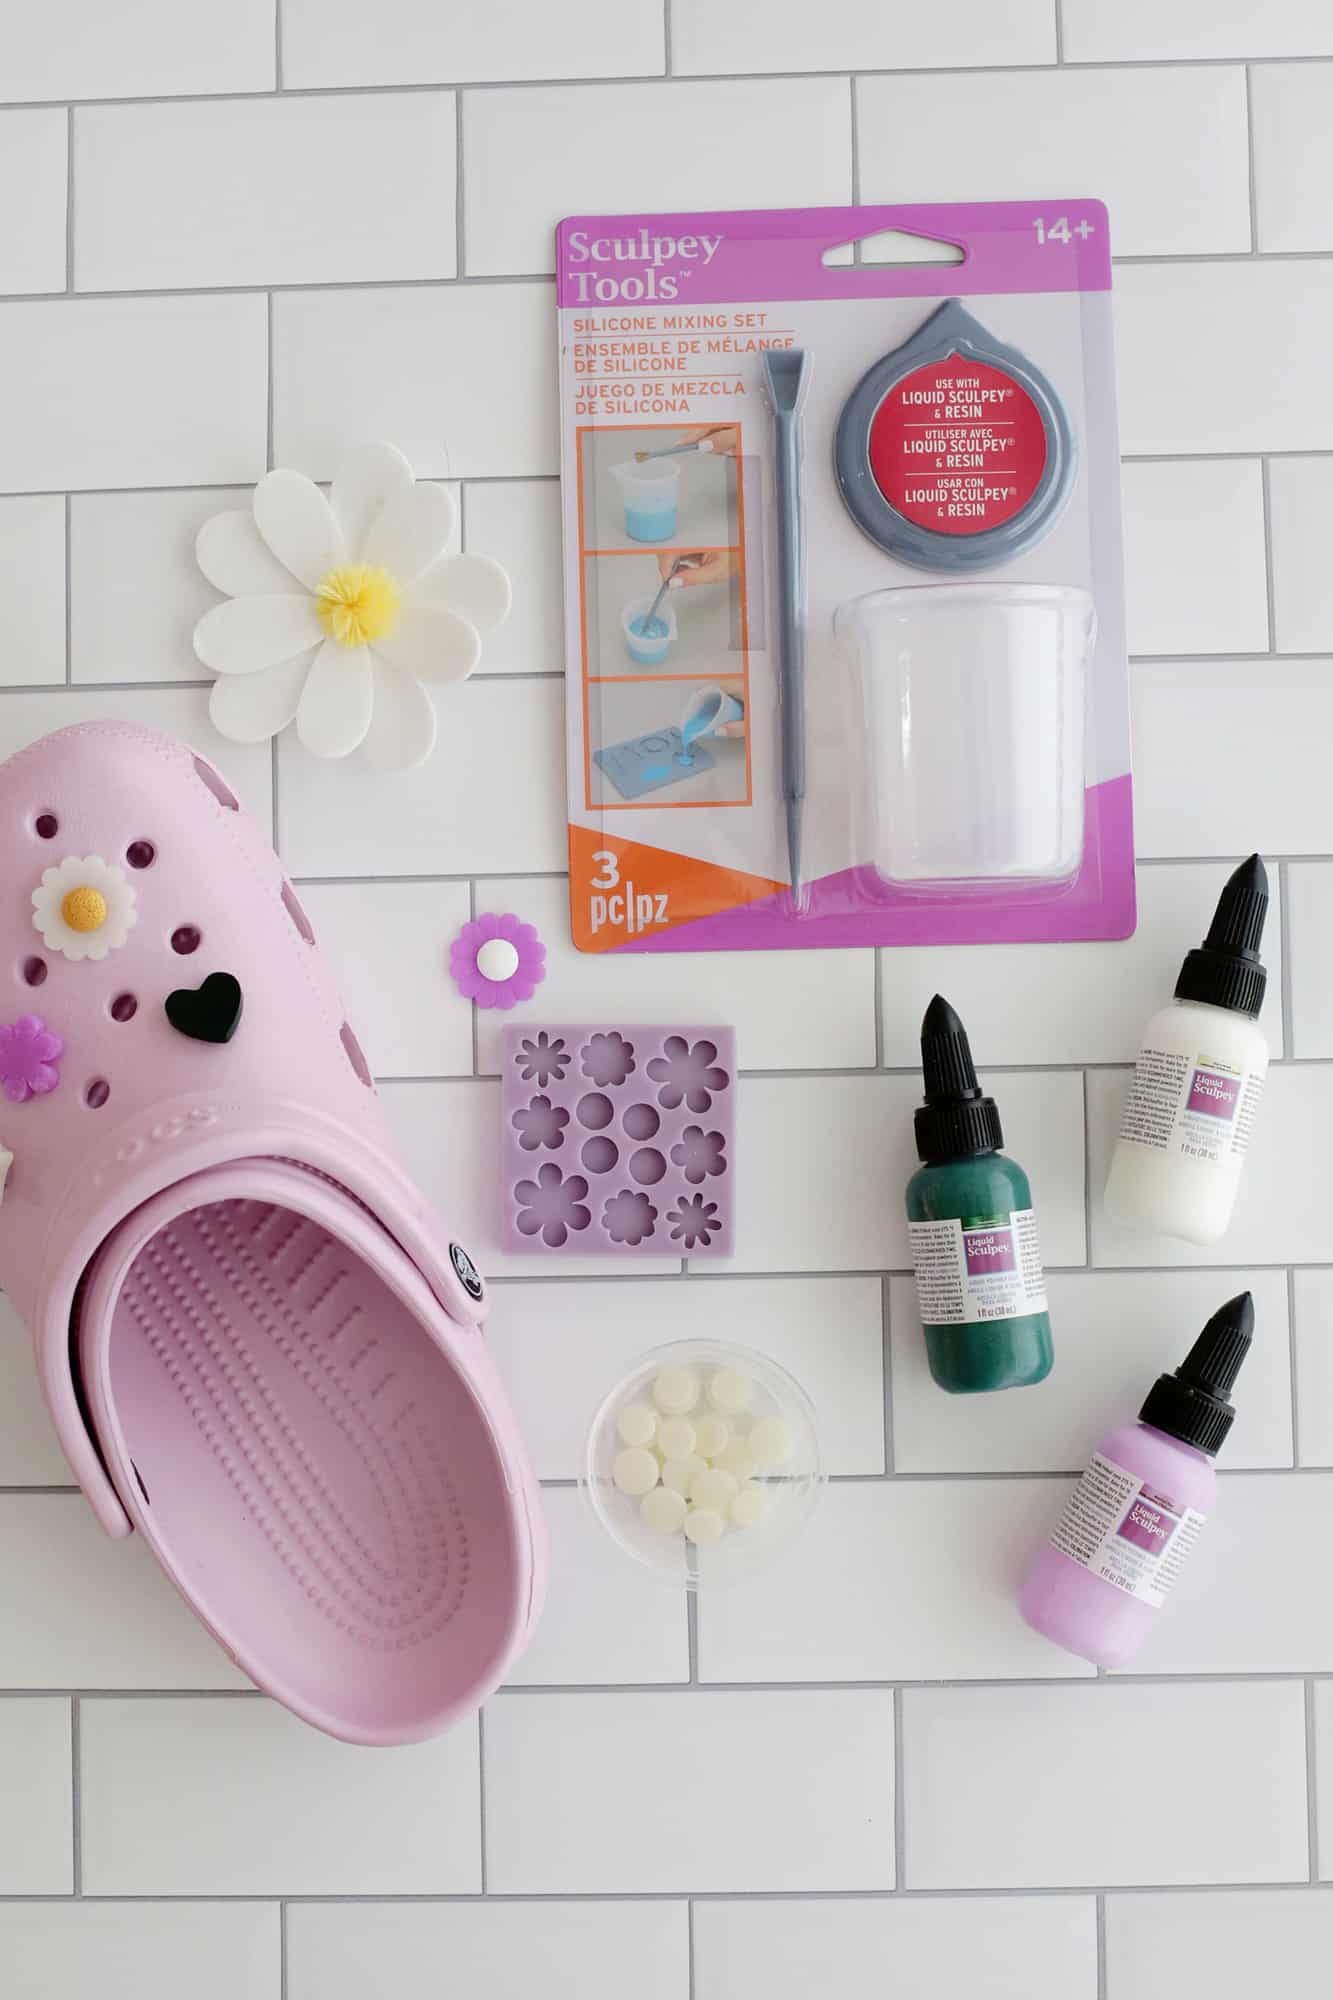
Munition:
–Liquid Sculpey in your favorite color
–Sculpey mixing cup set (optional but extremely useful!)
–silicone molds in your favorite glamor shapes
–charming support
-super glue (I like these gel control tips things)
–Cute Crocs!
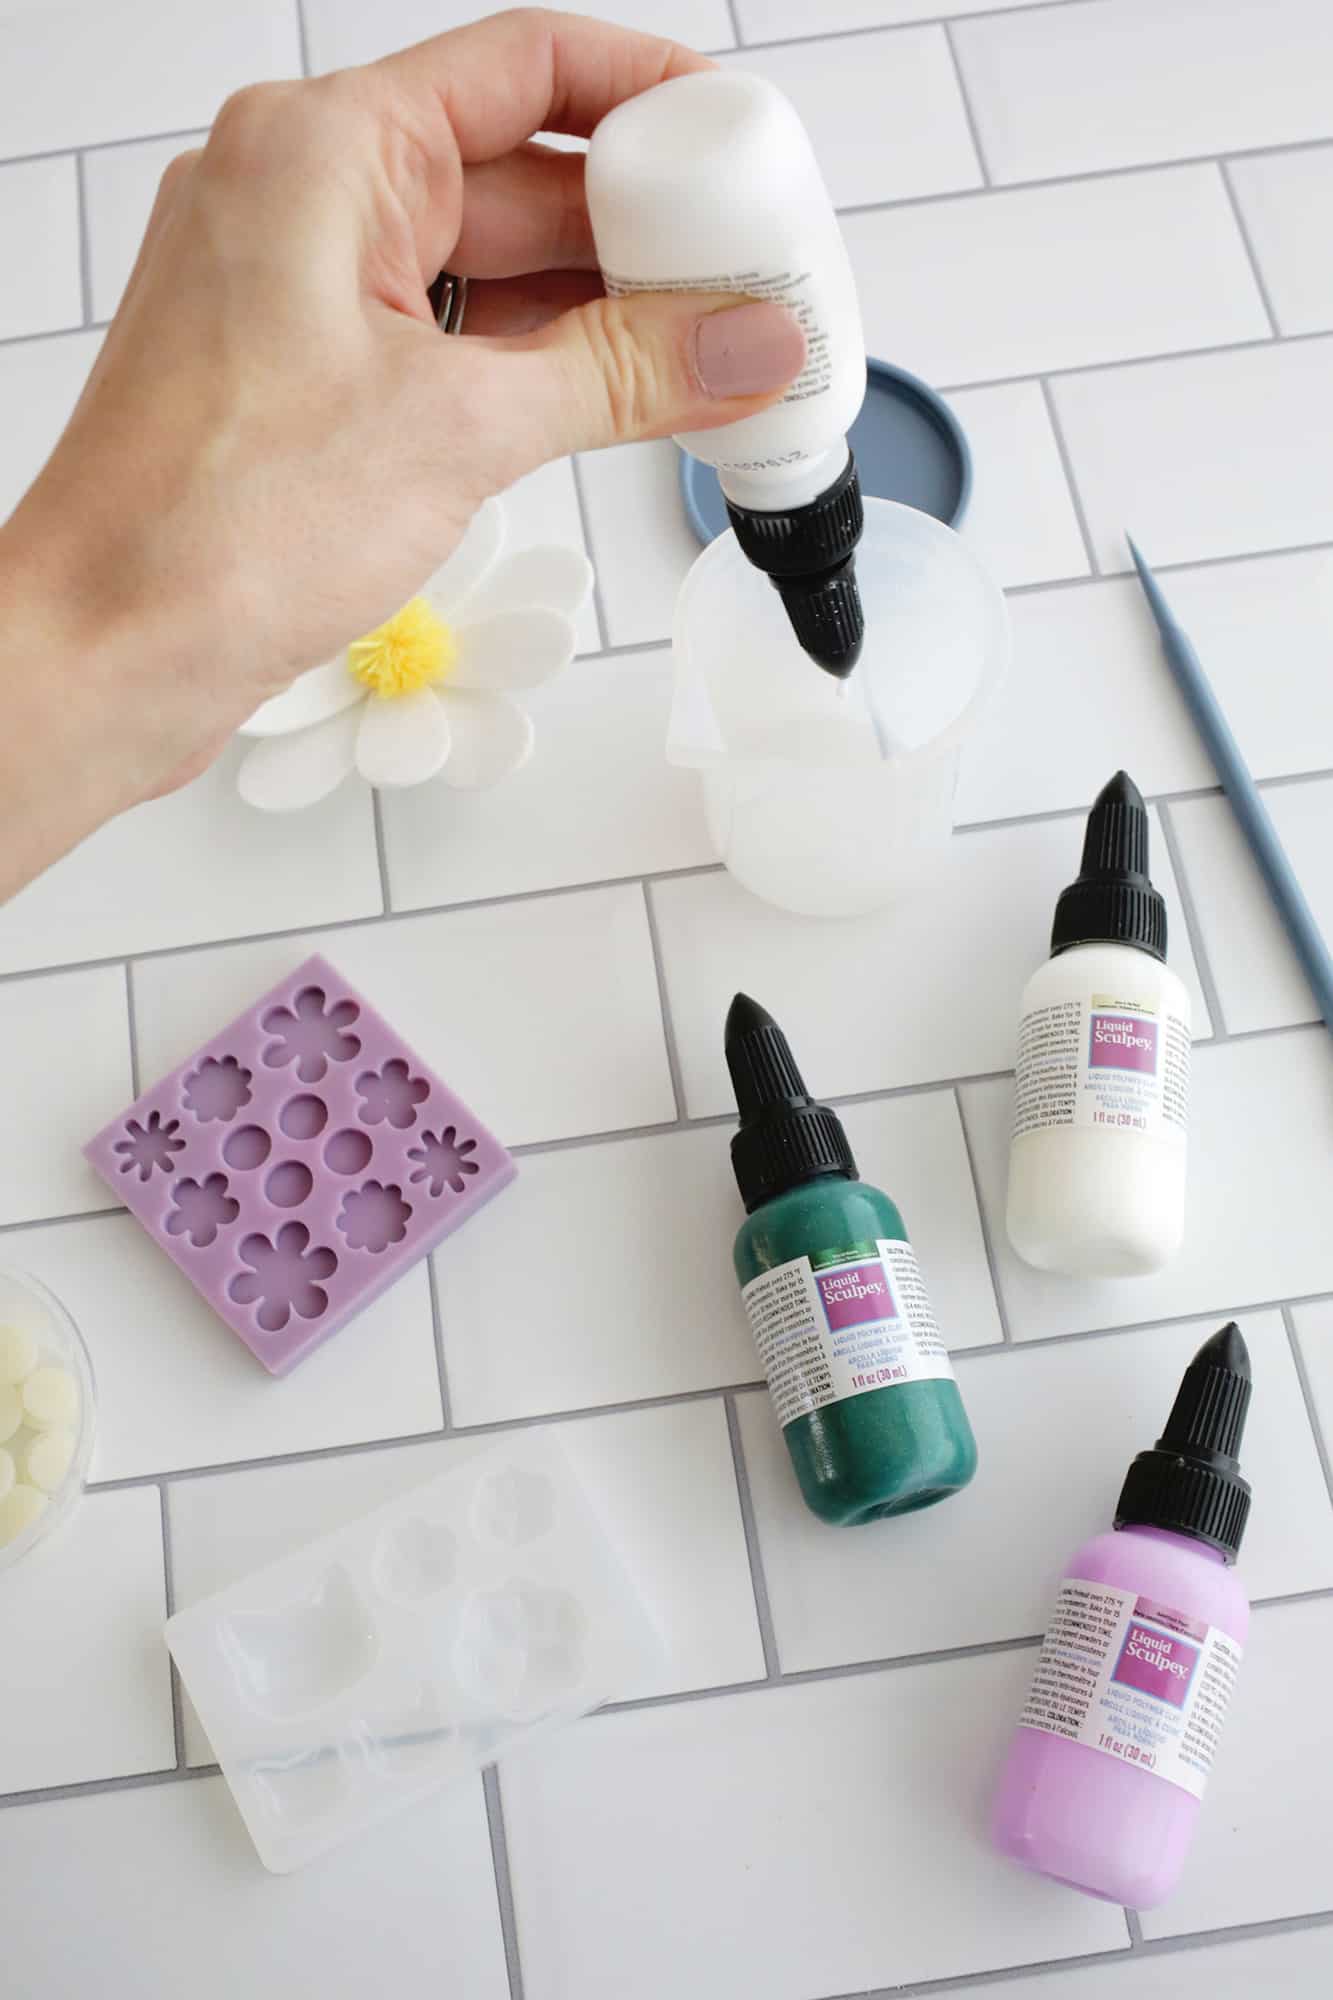
First, you’ll want to lay out your silicone mold and decide what color you want to go with it. Before pouring the Liquid Sculpey into the mold, you’ll want to stir the liquid in the bottle or, if you’re mixing colors, you can use the oven-safe silicone cup that comes with a double-ended stirrer.
The cup extremely useful because it’s clear so you can see the color you’re mixing, it has a scale on the cup for easy measuring and a spout for easy pouring. If you have leftovers in the cup, pop the lid on for another day or simply bake and peel it off for easy cup cleaning!
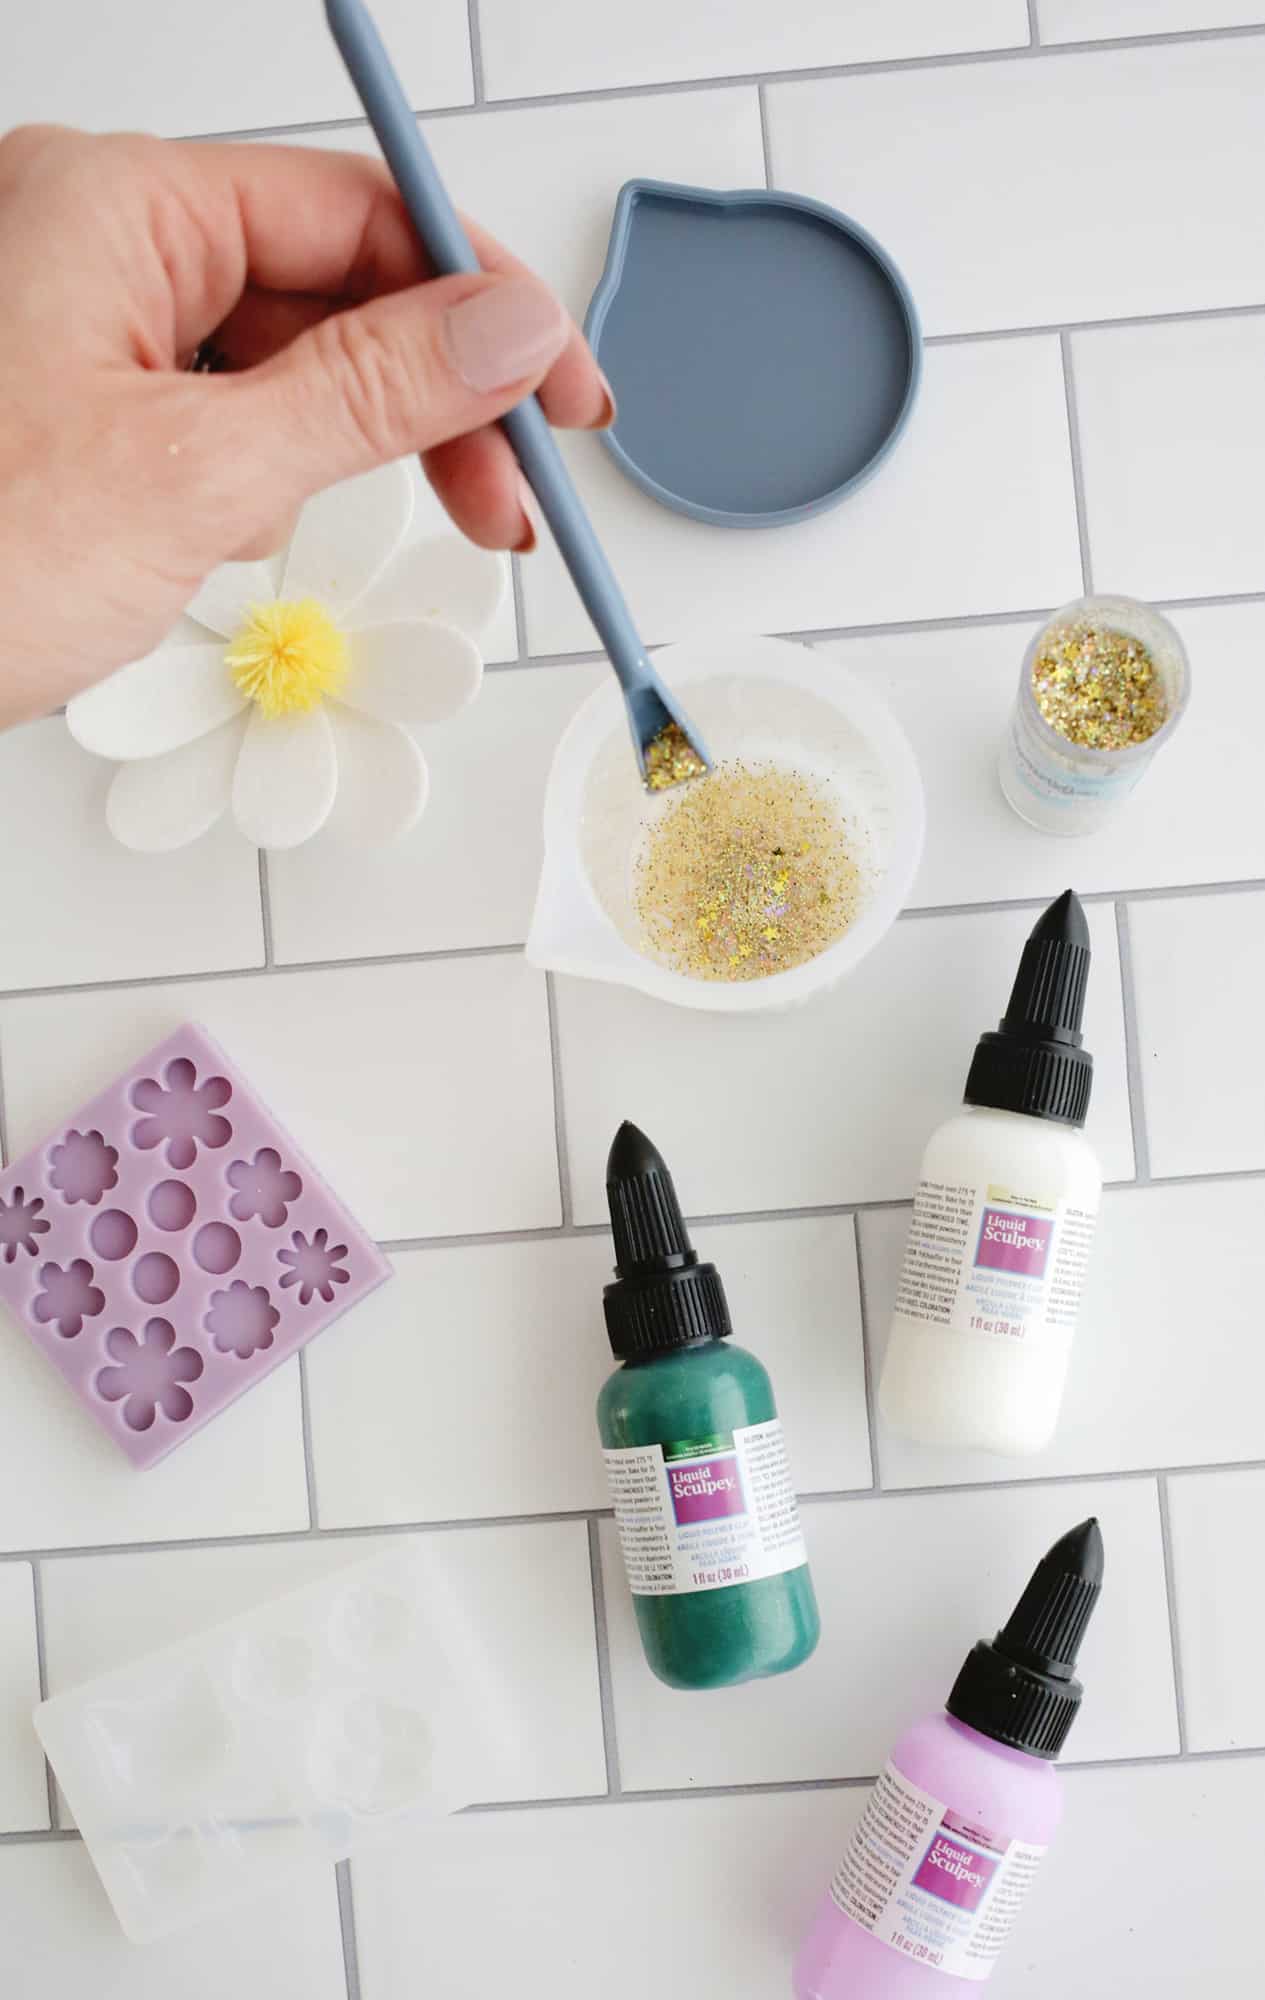
Using a stir stick is a great way to add sparkle and sparkle to your creations, as the tip of the spoon allows you to add sparkles and mica to your cup without the mess (and you can use pointed tip to pop any bubbles that appear!).
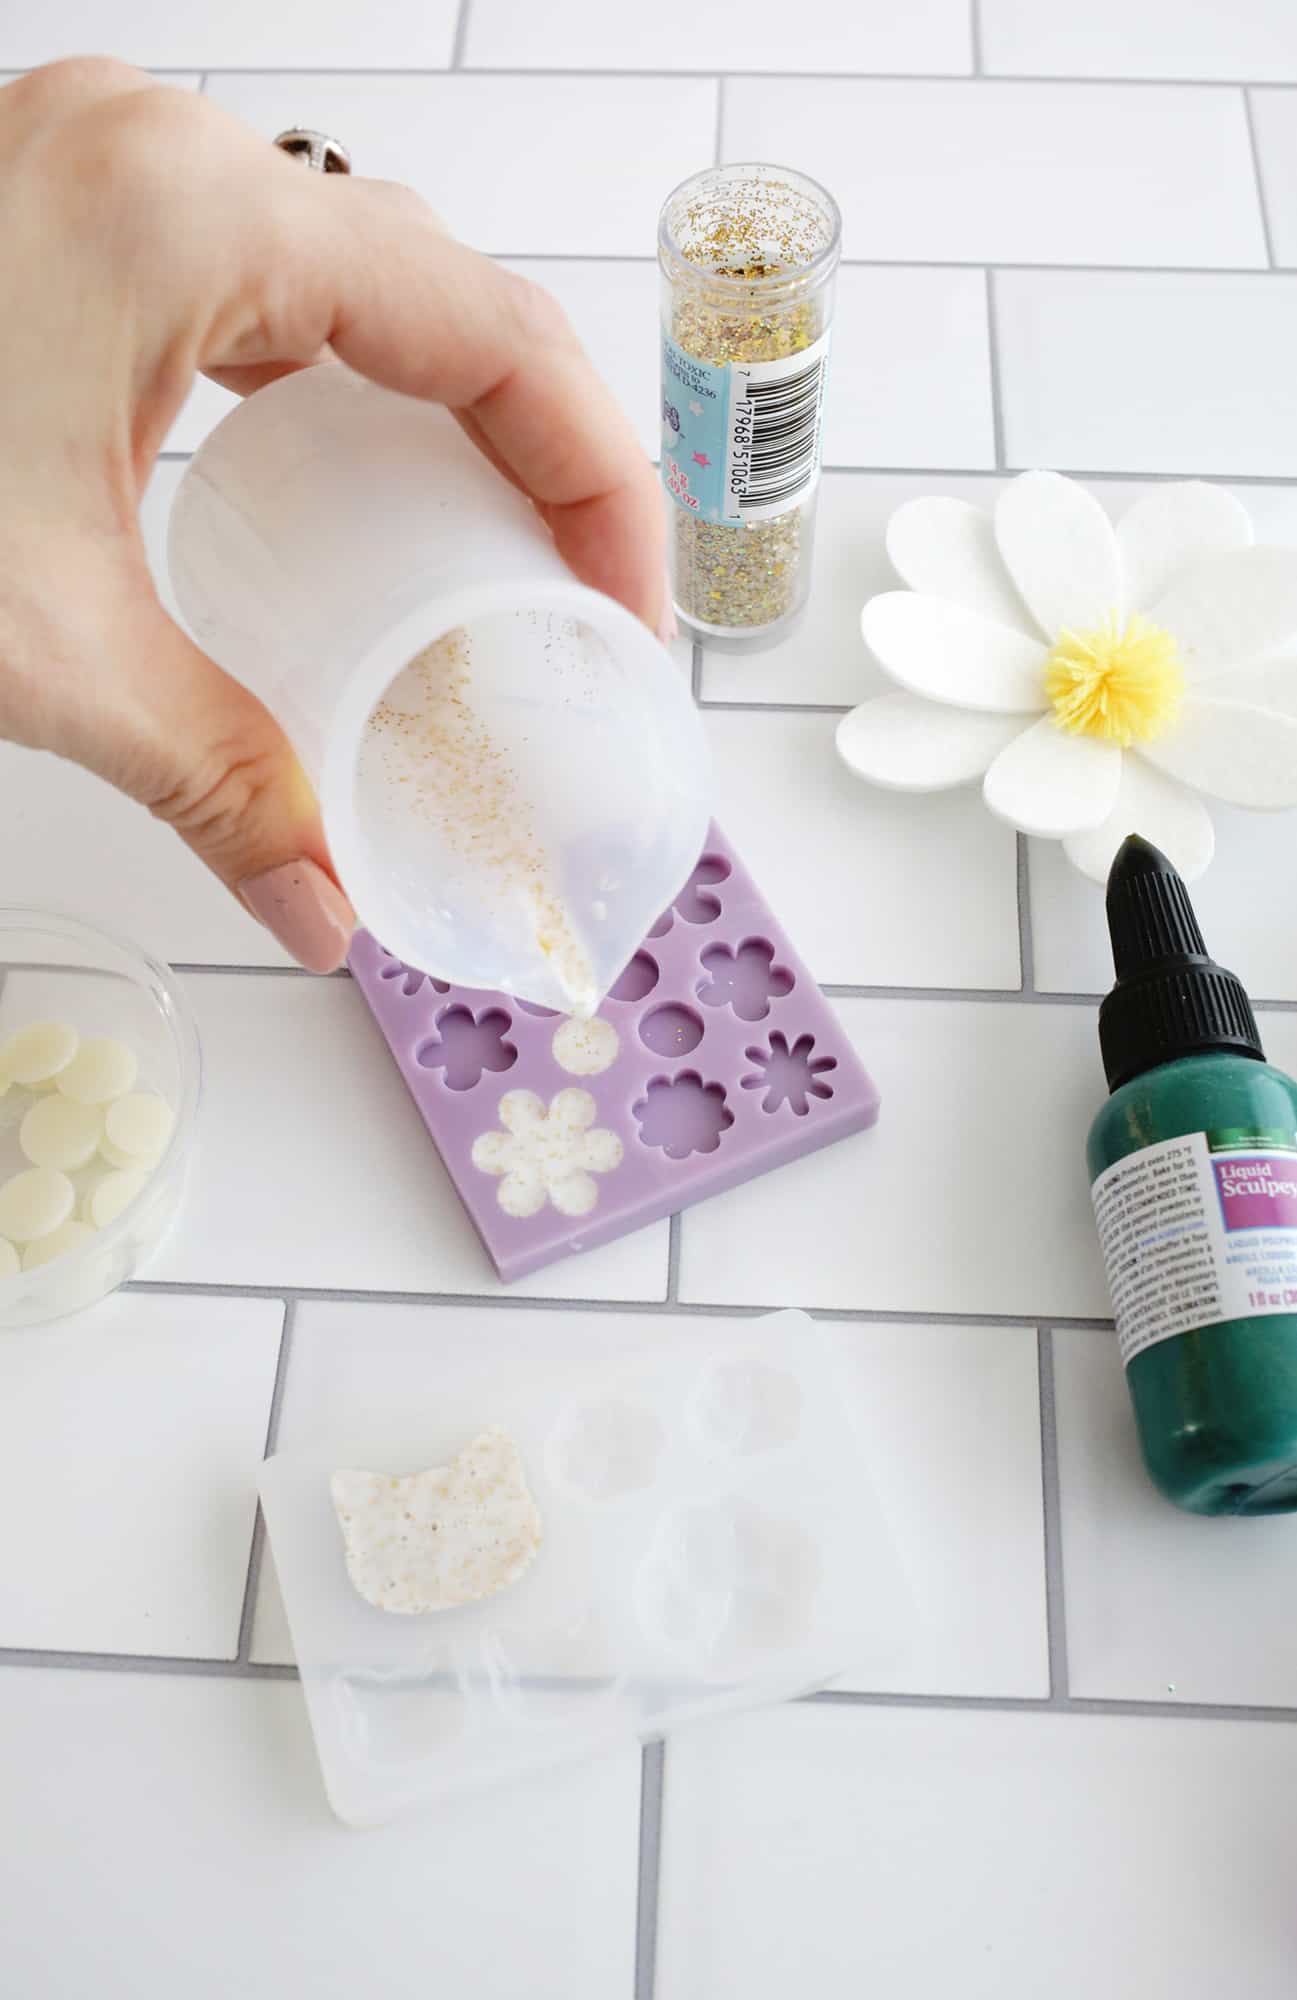
Once your colors have been stirred, pour or press the color into the mold to make it all one color, parts of the color so it doesn’t look faded, or pour in more than one color and marble with a toothpick.
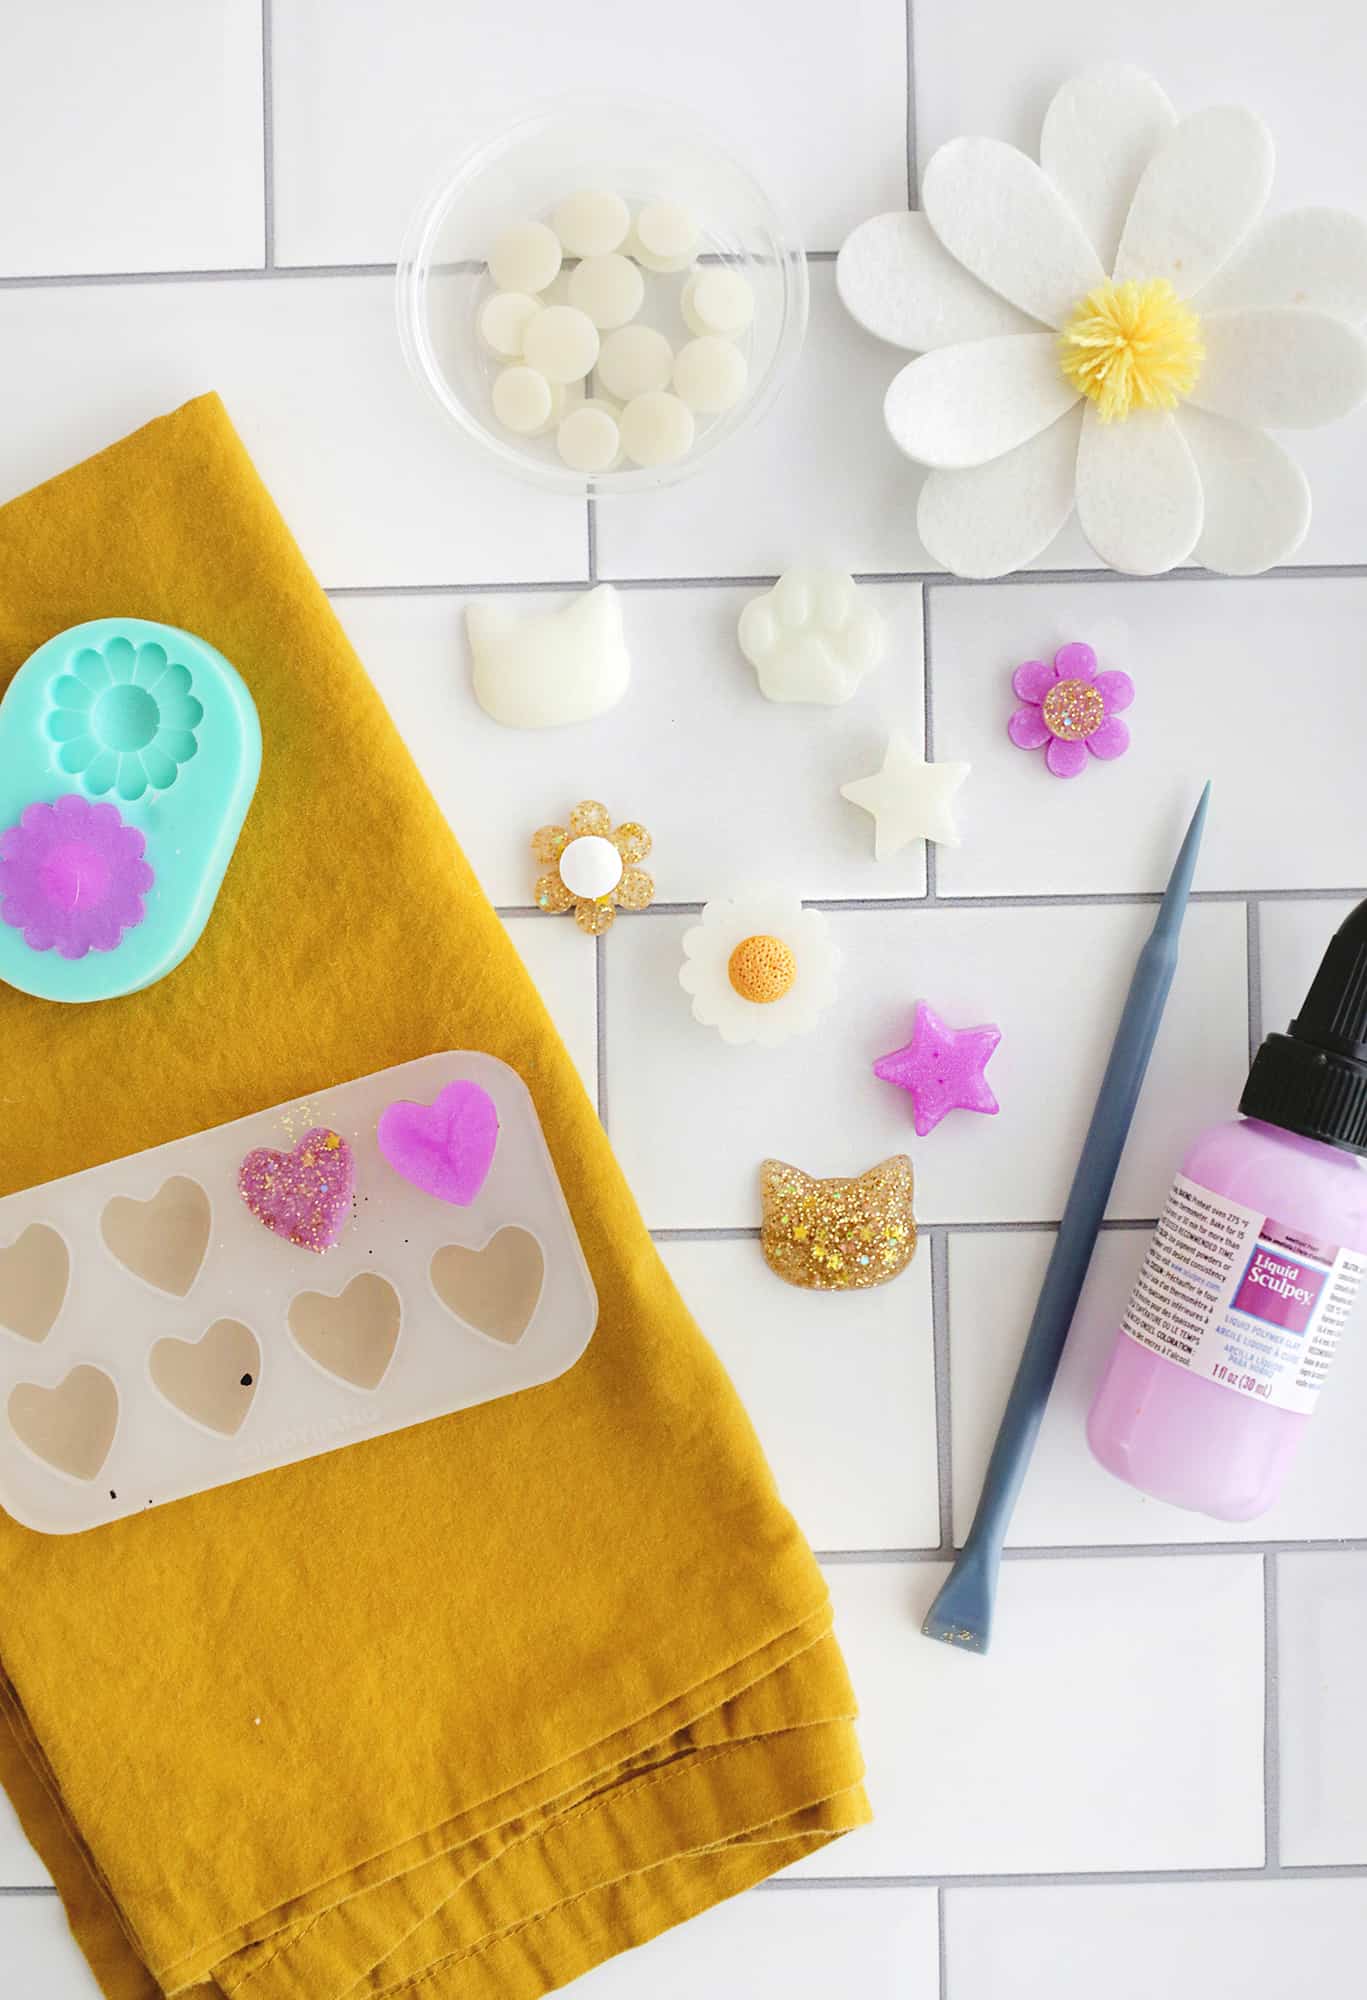
Bake your mold at 275° for 15 minutes for each 1/4 inch of Liquid Sculpey (recommended 15 minutes for 1/4 inch thick and 30 minutes for 1/2 inch). Let the mold cool and then peel off your charms!
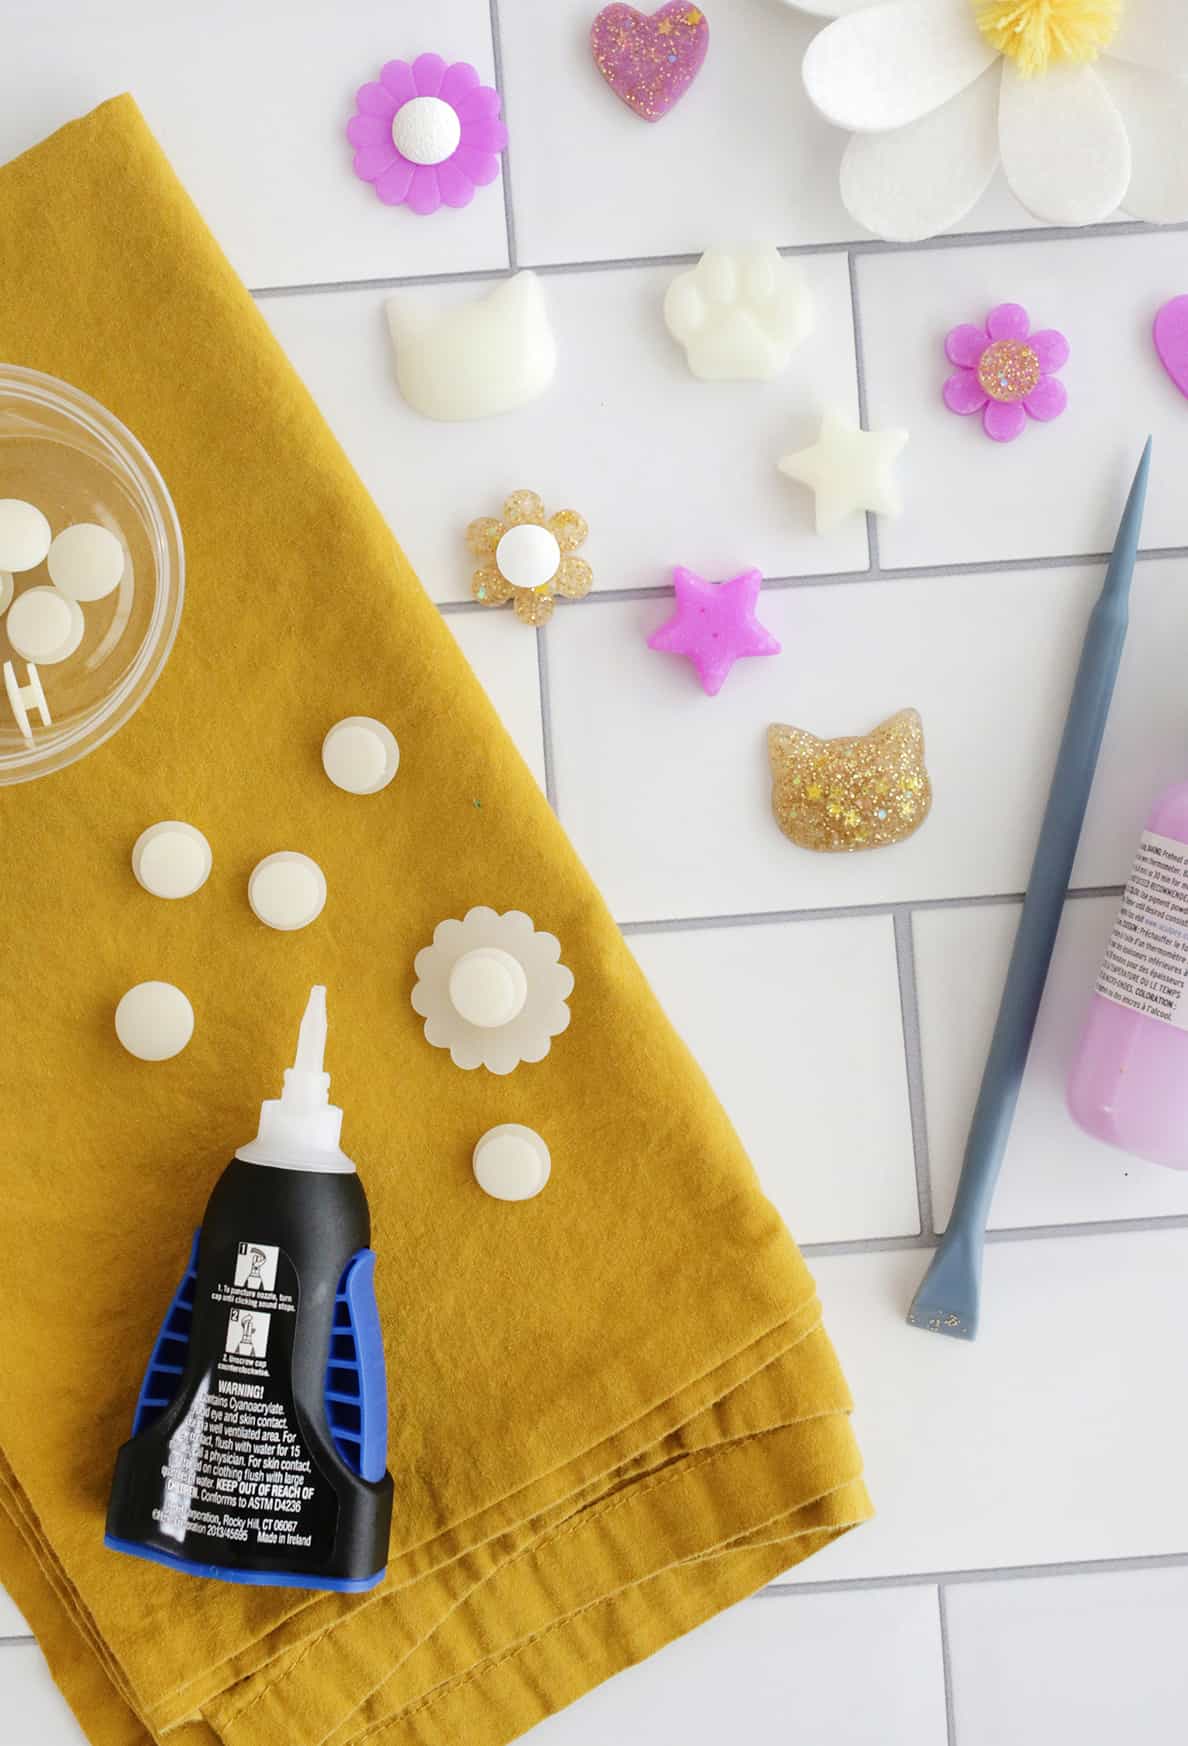

After the talismans have completely cooled, use super glue to stick them to the base of the charm and let the glue set.
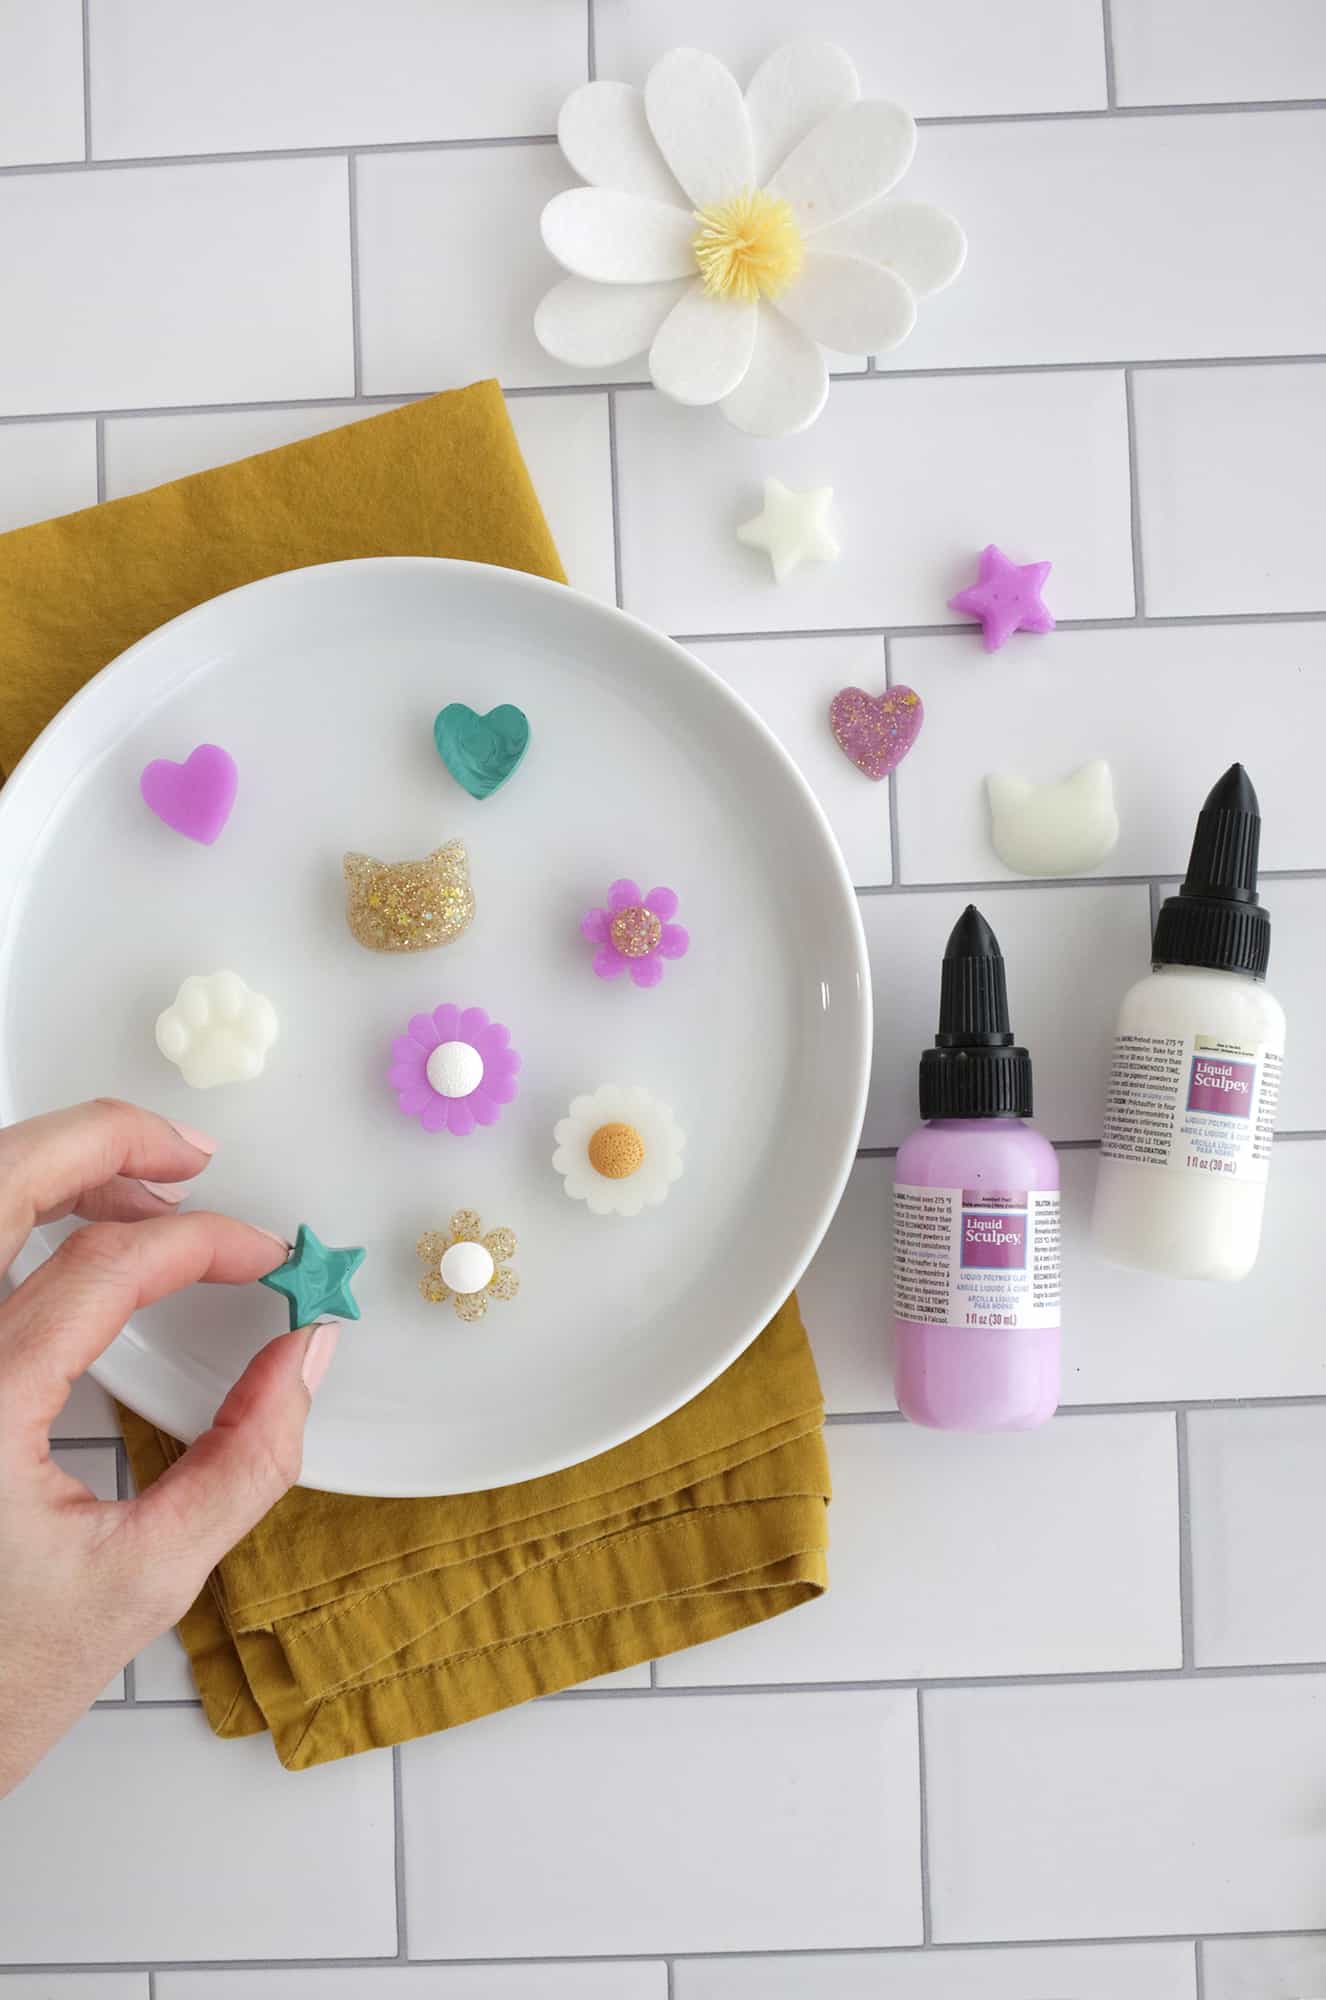
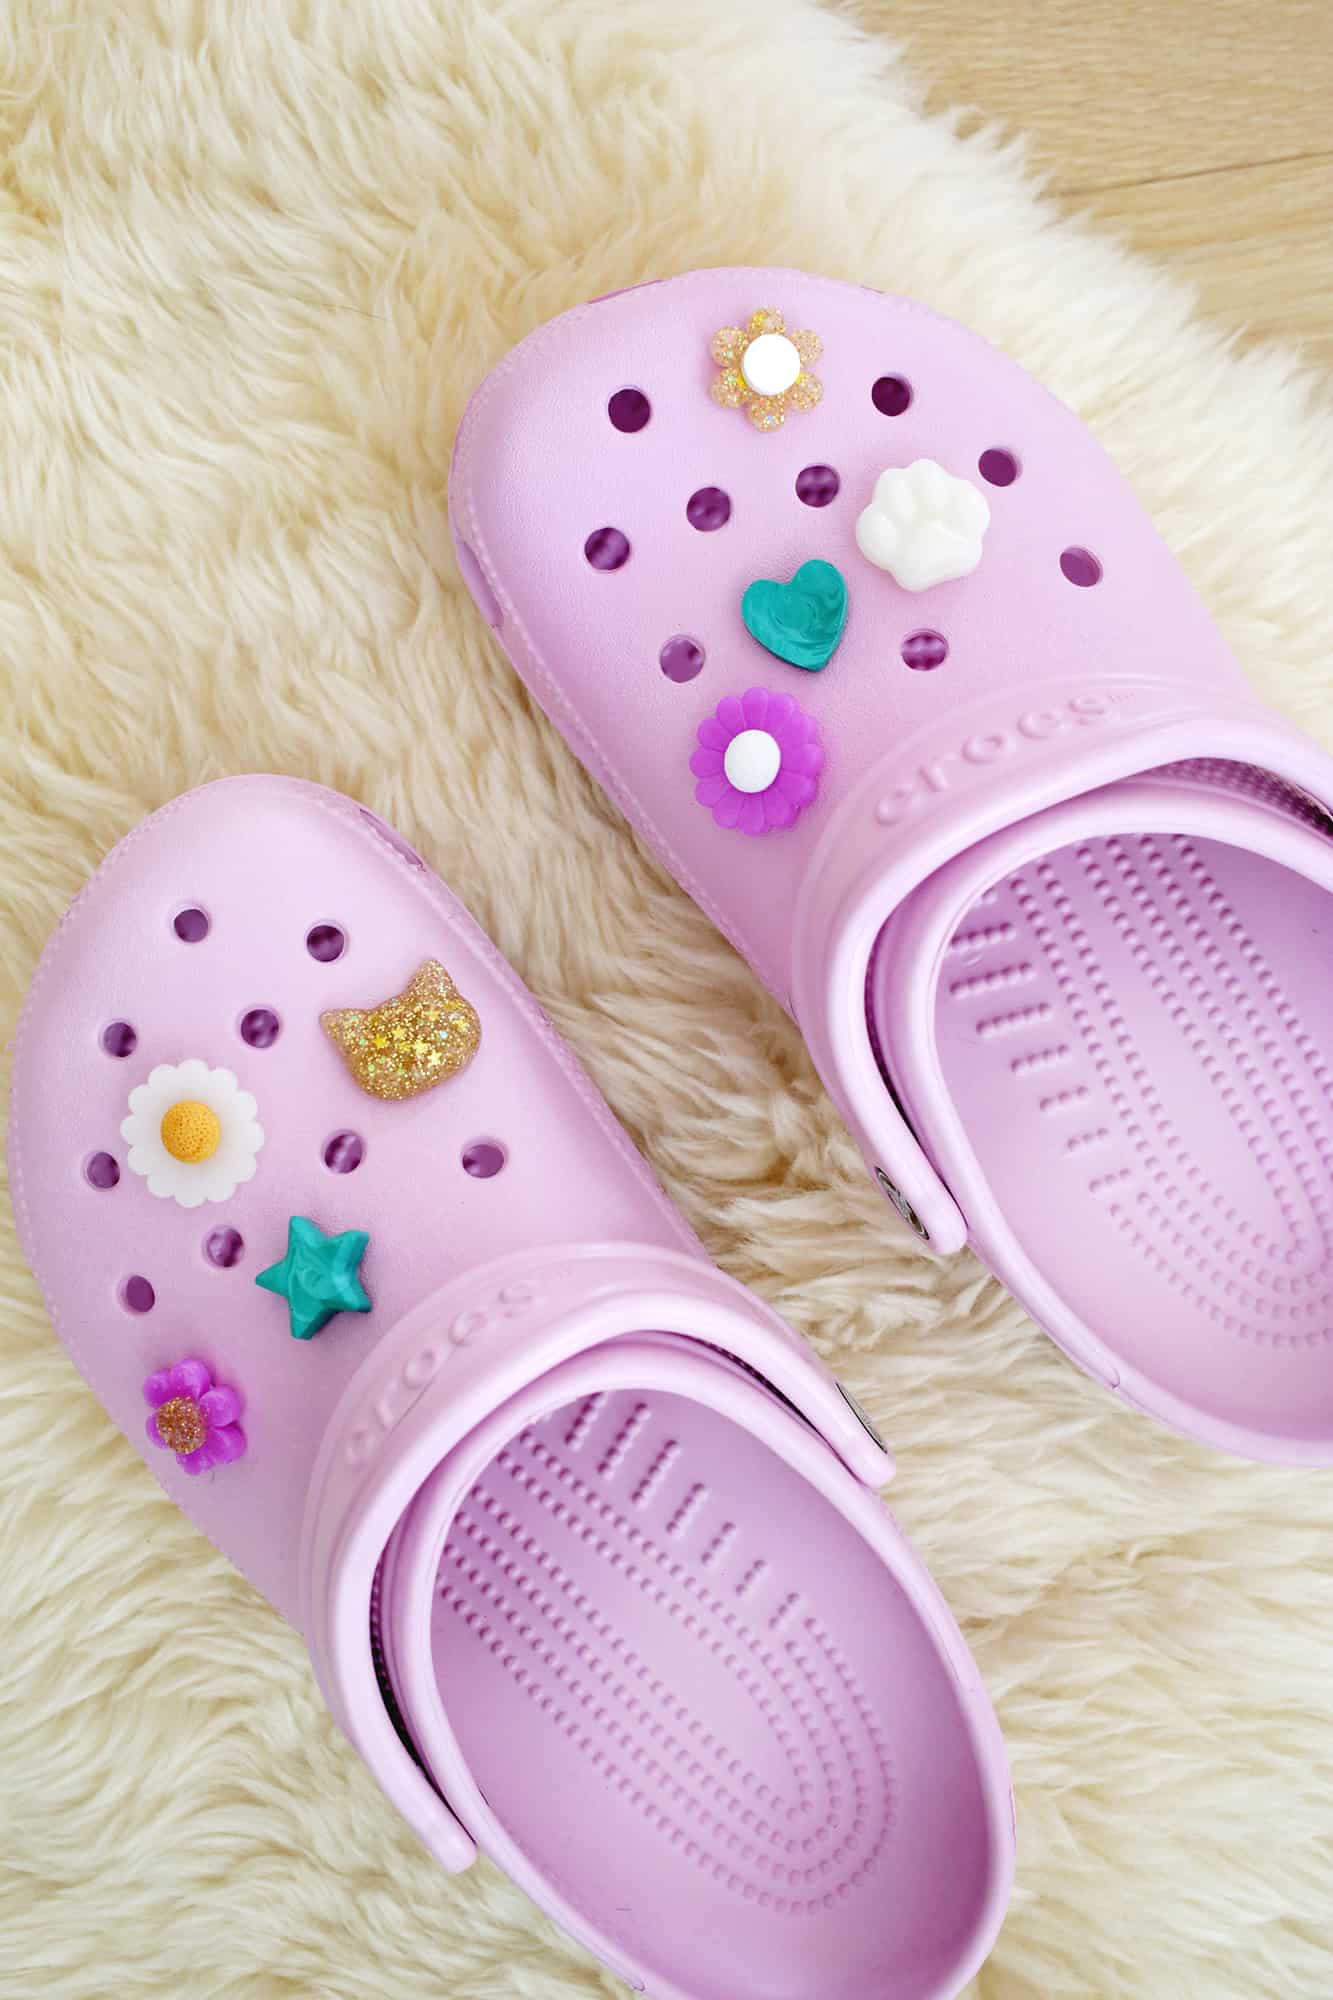
Once the glue dries, you’re ready to decorate with your Croc charms!
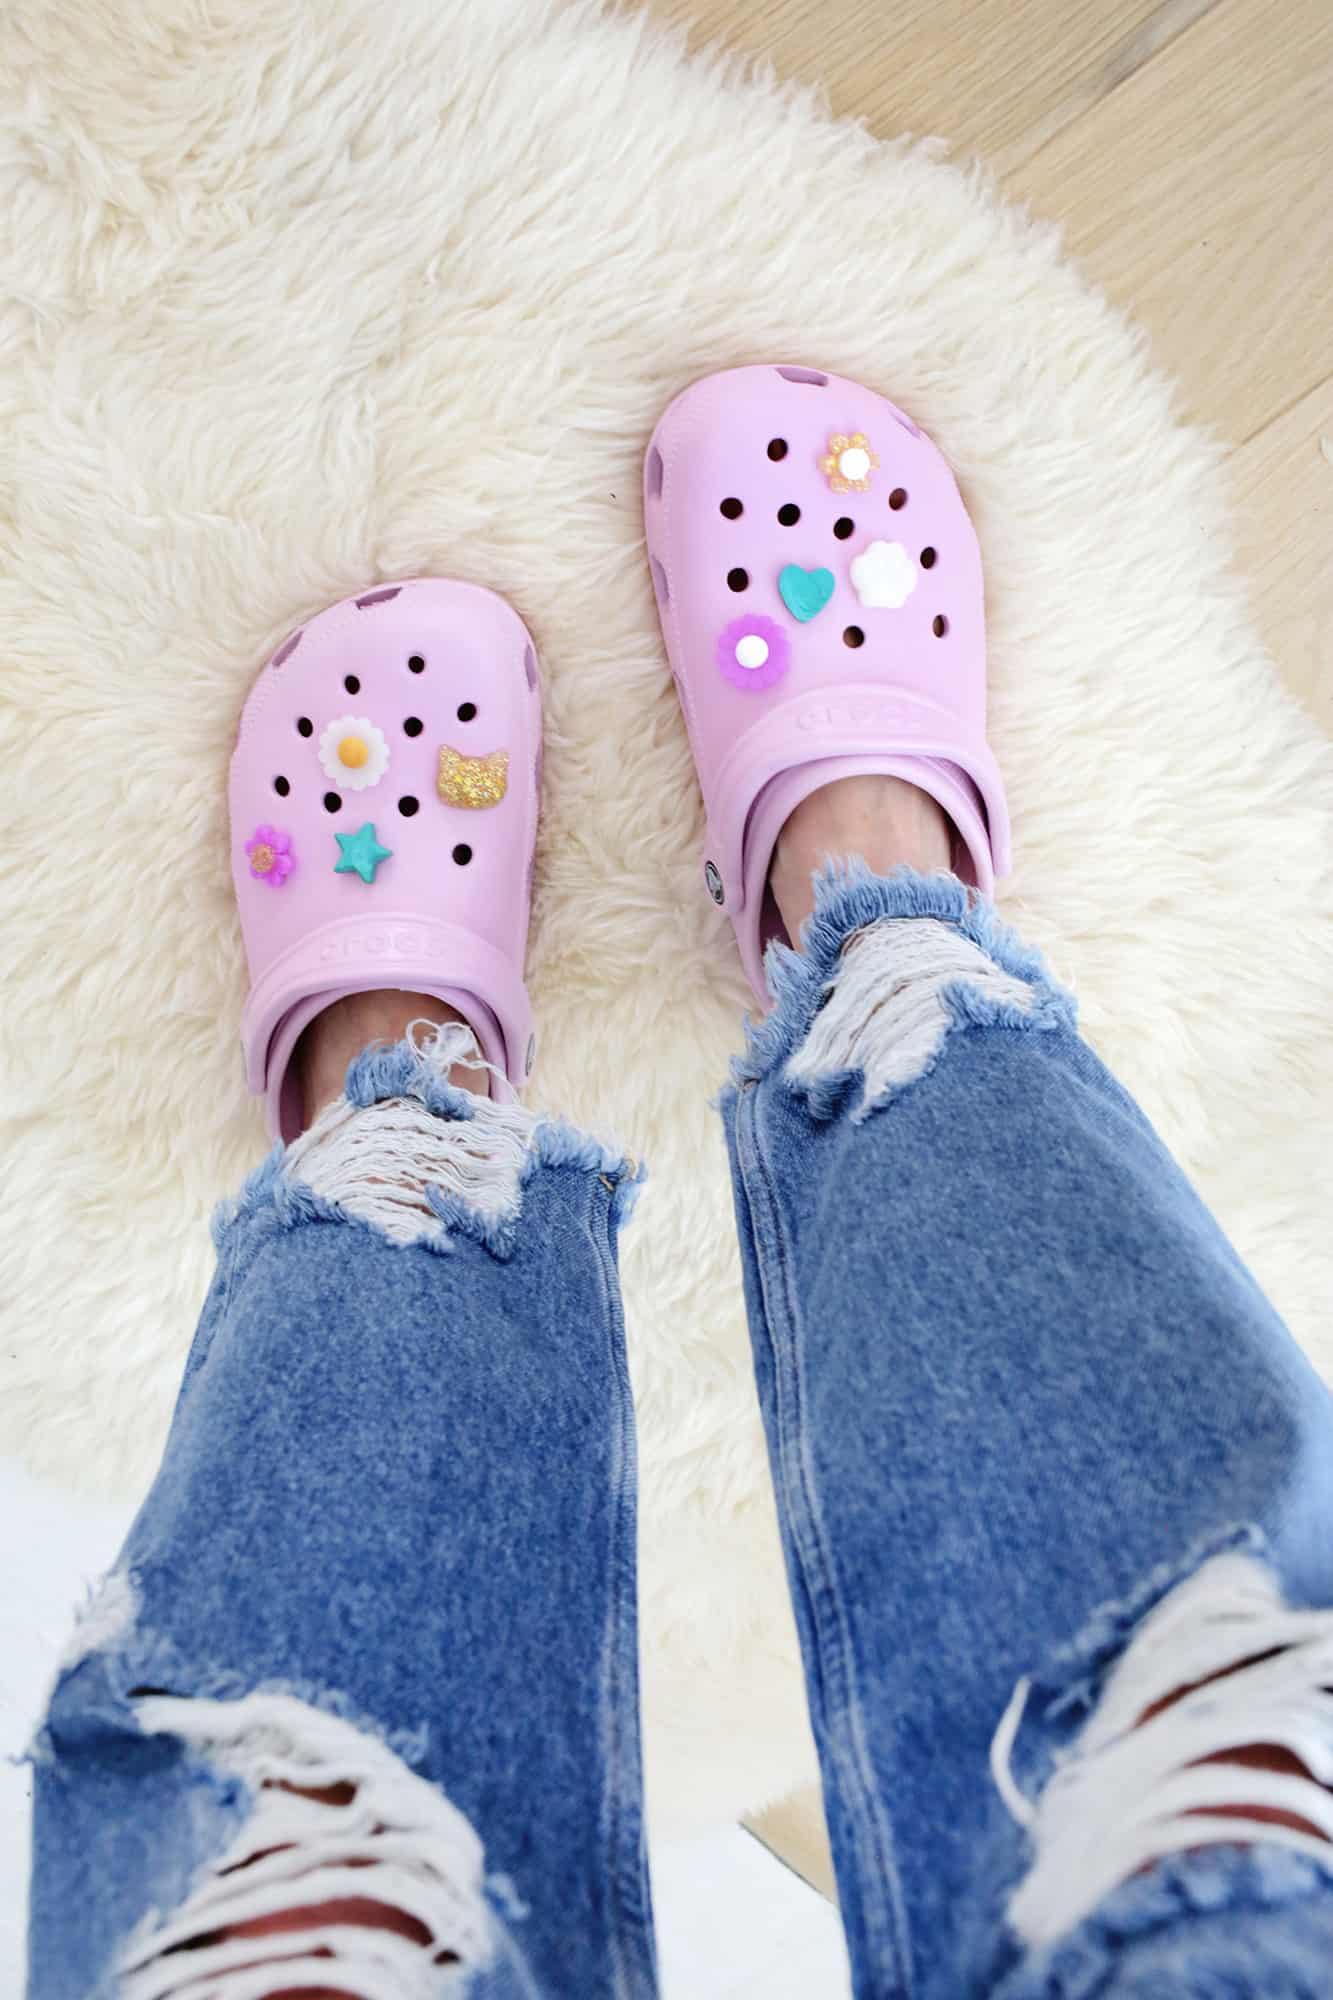
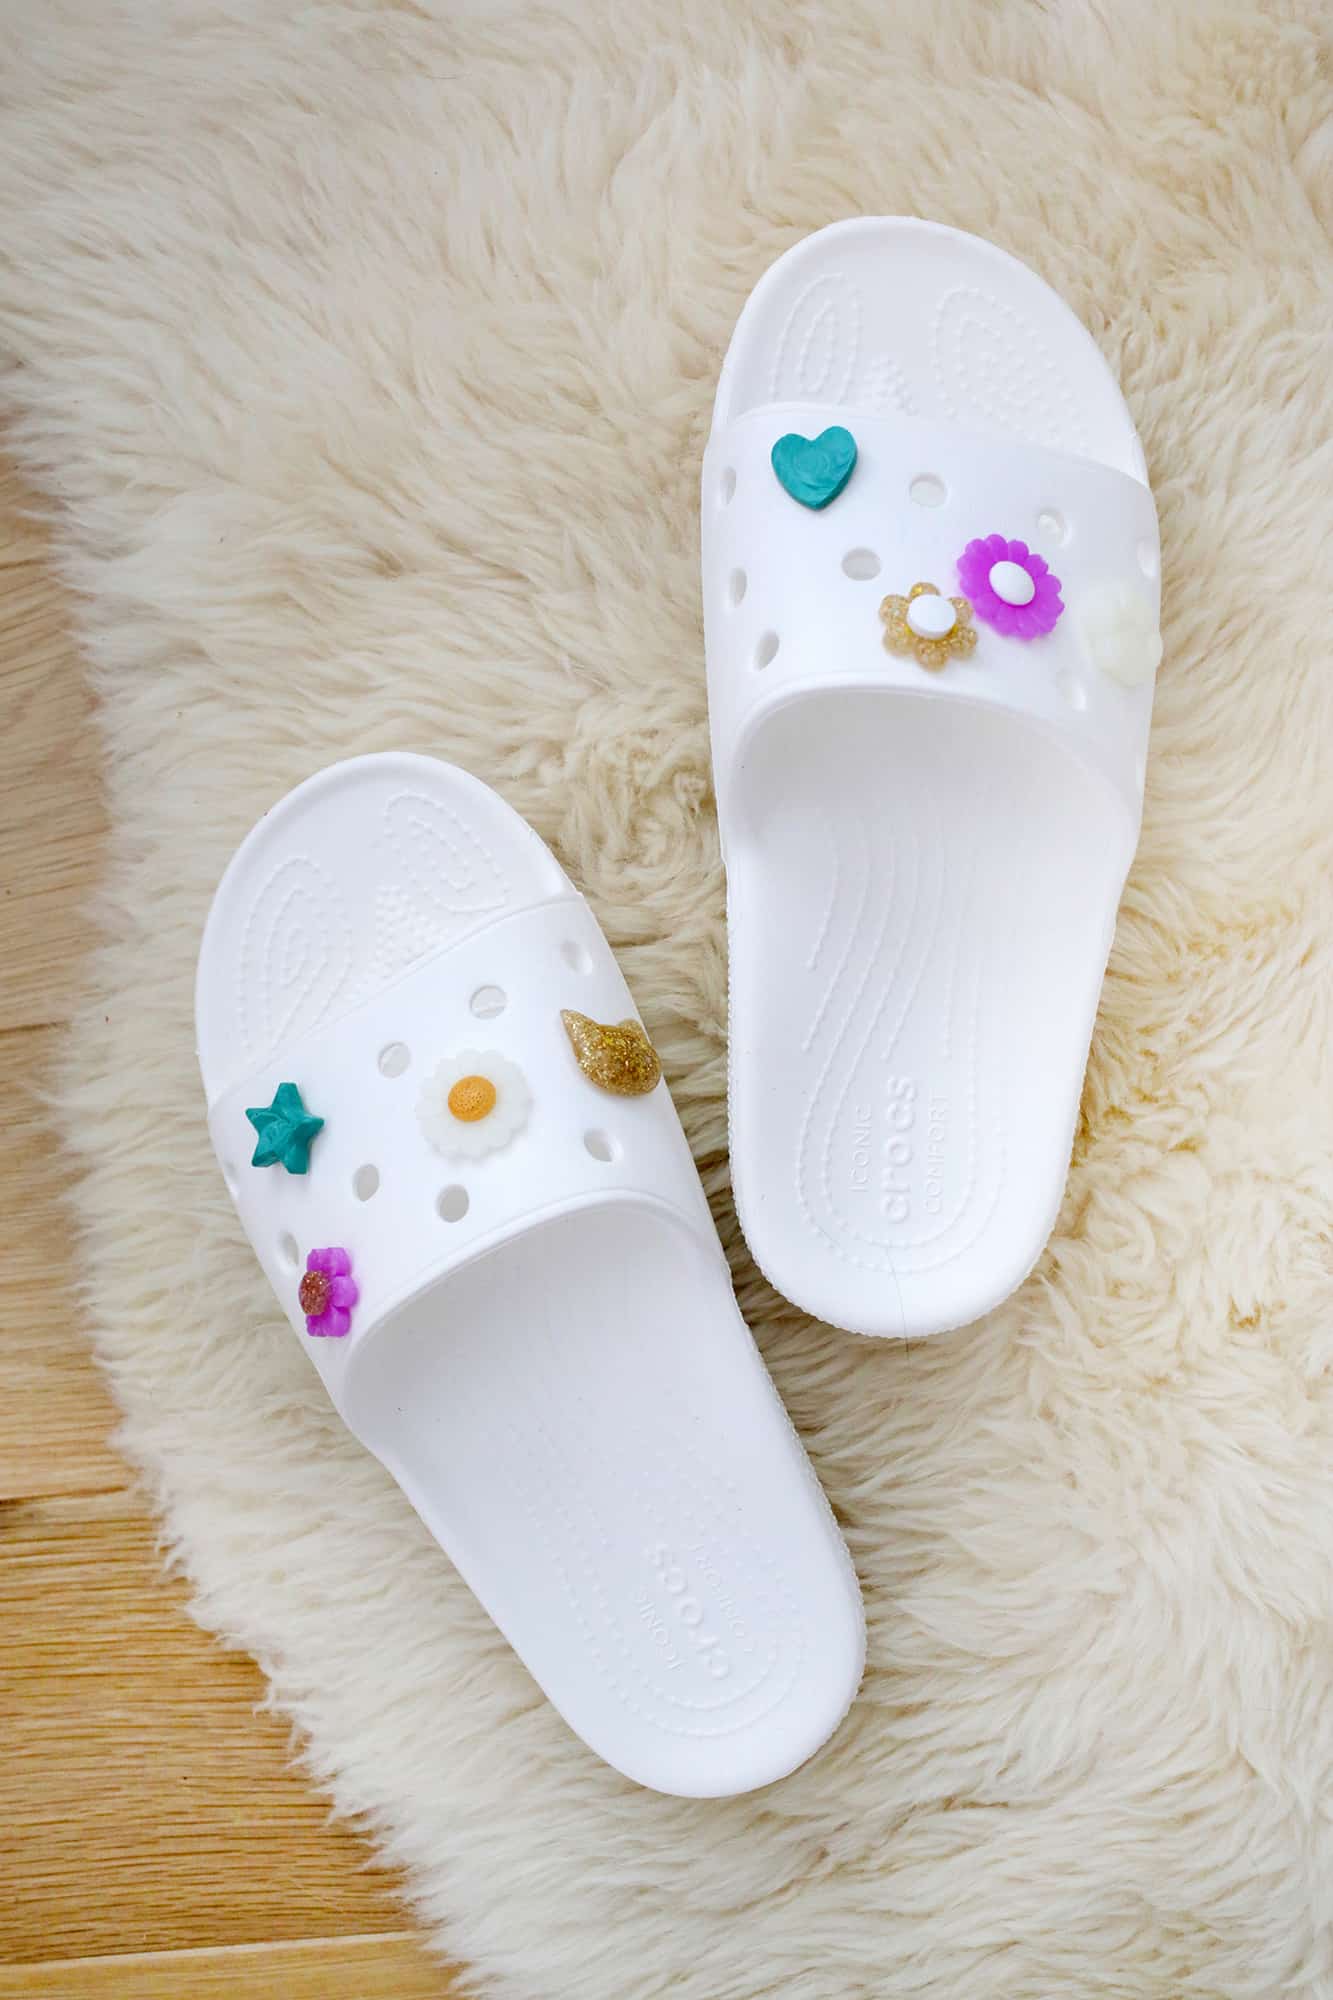
Much cuter with charm!! And if you like the idea but aren’t a fan of the more classic Crocs, you can get these sandal slides Perfect places for the beach or the pool.
Making these Croc charms with Liquid Sculpey is so quick, fun, and easy, and I love how you can customize all the colors to your liking and add glitter and mica for extra shine (my daughter’s). think the bright light in the dark color is also very cool).
You can also use this method to create custom pins with support like this or charm necklace. The possibilities are endless!
I know Crocs can be very polarizing too (you love them or hate them!), so let us know in the comments if you’re the Crocs teammate and what charms you’d like to make for your pair! so so. Laura

Easy Croc Charm DIY
Making Croc Charms with Sculpey Liquid
-
First, you’ll want to lay out your silicone mold and decide what color you want to go with it.
-
Before pouring the Liquid Sculpey into the mold, you’ll want to stir the liquid in the bottle or, if you’re mixing colors, you can use the oven-safe silicone cup that comes with a double-ended stirrer. This cup is useful because it’s clear so you can see the colors you’re mixing, it has a scale on the cup for easy measuring and a spout for easy pouring (and if you have any food If you have any leftovers in the cup, pop it on the lid to save it for another day, or just bake and peel for easy cleaning!). Using a stir stick is a great way to add sparkle and sparkle to your creations because the tip of the spoon allows you to add sparkles and mica to your cup without making a mess (and you can use the tip of the spatula). spike to pop any bubbles that appear!).
-
Once your color is well mixed, pour or press the color into the mold to make it all one color, parts of the color so it doesn’t look faded, or fill in more than one color and the marbles with a toothpick.
-
Bake your mold at 275° for 15 minutes for each 1/4 inch of Liquid Sculpey (recommended 15 minutes for 1/4 inch thick and 30 minutes for 1/2 inch). Let the mold cool and then peel off your charms!
-
After the talismans have completely cooled, use super glue to stick them to the base of the charm and let the glue set. After the glue dries, you’re ready to decorate your Crocs!


